We Install Velineon Power for Rally-Style Fun
Metric Hex and Nut Driver Essentials Set
For a job like this, you'll appreciate the benefits of professional quality hobby tools like the 8712 7-Piece Metric Hex and Nut Driver Essentials tool kit. This set includes premium hex bits and nut drivers that will allow you to quickly and easily perform upgrades and maintain any Traxxas model. The kit also includes an overmolded grip and convenient embroidered storage case. The Traxxas Pit Mat will also help keep you organized and protect your work area while you're wrenching.
| |
| Parts List |
| |
| |
| |
Going Brushless
The 3350R Velineon power system includes the VXL-3s speed control and 3500Kv motor. There’s also a mounting plate in the box, which we won’t need for the TRX-6. First things first, we need to remove the stock XL-5 HV speed control and Titan 21T motor. The motor comes out with just three screws, and two screws secure the speed control.
 Remove the three motor screws
 Remove the two screws for the speed control
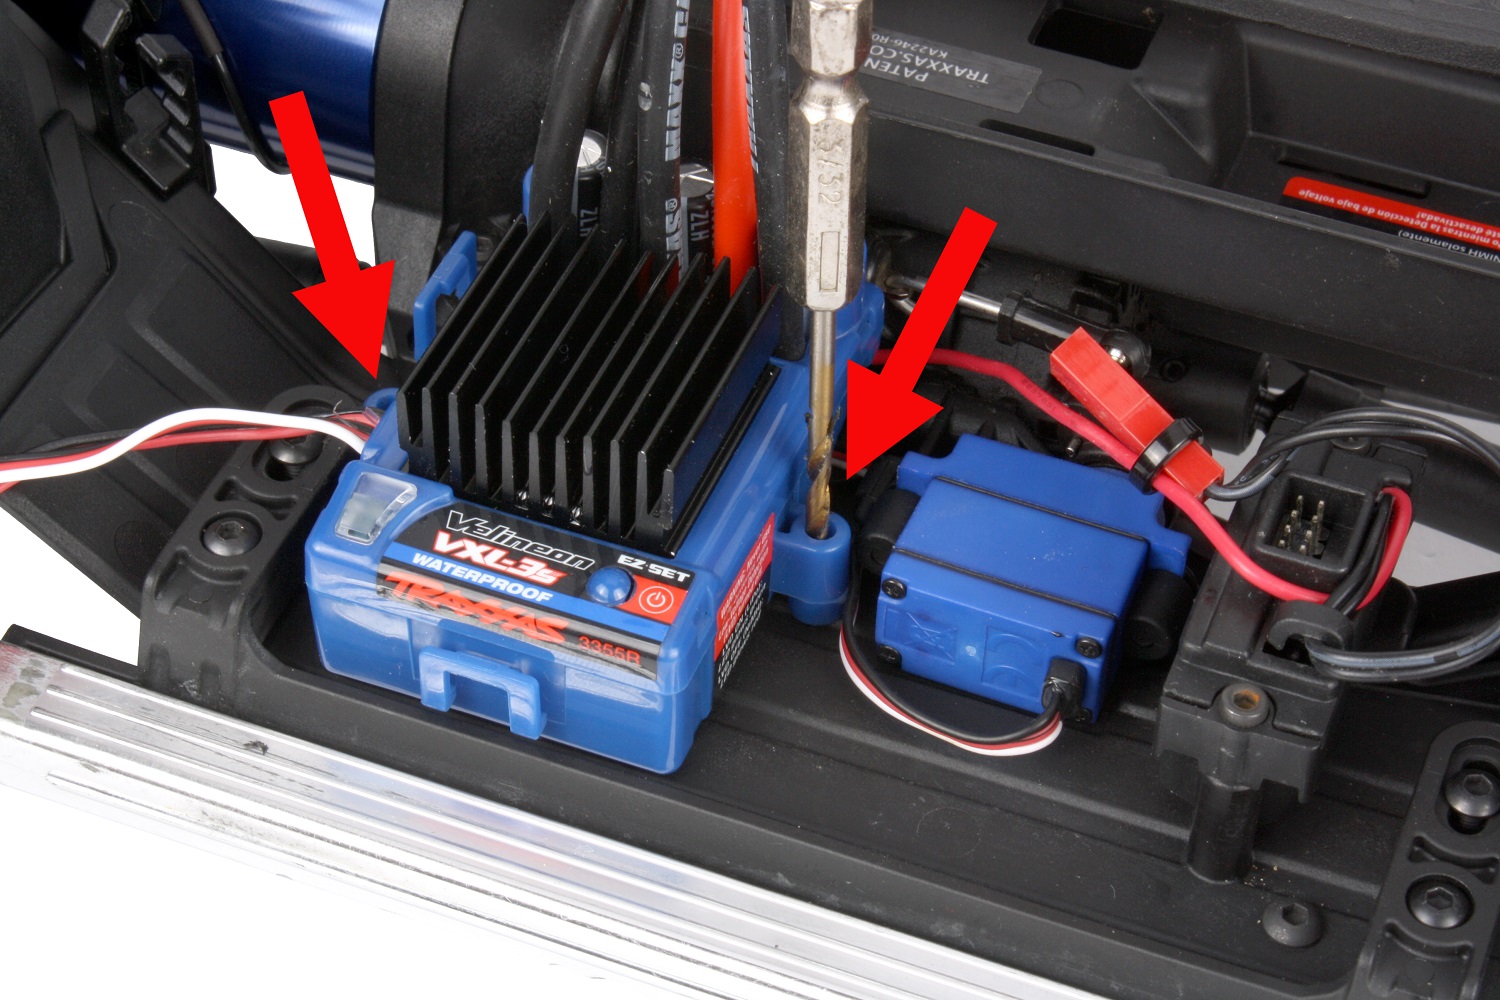
The Velineon speed control’s mounting lugs don’t line up with the holes for the narrower XL-5 we removed. To make new mounting holes, place the speed control on the chassis and use the lugs as a guide for a 3/32″ drill bit. The XL-5’s hole locations are in red, the new holes for the VXL-3s are in green. Once you install the speed control, hold off on connecting the LED lights. The VXL-3s does have an accessory fan port, but this was not designed to support the lighting module in the TRX-6. We'll leave the lights unplugged for this build.
 Line up the speed control
 Drill new mounting holes
Before placing the motor, we’ll install a 6526 temperature sensor so we can monitor motor temps and determine if a gearing change is in order. Installing the temperature sensor on the motor is easy, it just zip-ties around the can with the 6535 sensor mount. The mount makes sure the thermistor (arrowed) is pressed tightly against the motor for accurate readings.
 Align the thermistor with the notch in the mount
 Secure the mount with a zip-tie
Swapping the Titan 550 motor for the Velineon 3500 is also a good opportunity to replace the stock plastic motor plate with the aluminum upgrade version. We went with gray, you can also get green, blue, or red). Note that the motor is installed with the wires on the underside. This prevents the wires from interfering with the Telemetry Expander we’ll be installing later. Notice that we swapped the yellow and blue motor wires. This reverses the motor's rotation to accommodate TRX-4 and TRX-6 models that use a reverse-rotation motor.
 Angle the motor wires down
 Reverse the blue and yellow wires
Telemetry Expander Installation
To monitor speed via GPS, our TRX-6 is getting the 6553X Telemetry Expander 2.0 with GPS Speed Module. GPS-generated speed readings are way more accurate than calculations based on sensors detecting wheel or shaft rpm, and setup is far simpler—just plug it in. The expander has six ports for additional sensors, is fully waterproof, and easy to install. You'll need the 6561 Expander Mount to install the Telemetry Expander in TRX-4 and TRX-6 models.
 Telemetry expander with GPS module
 6561 Expander Mount
The mount replaces the front wire retainers in the chassis, and the Telemetry Expander bolts on top. It’s a quick job. Remove the Telemetry Expander’s wire clamp to plug in the temperature sensor and data cable.
 The mount replaces the front wire retainers
 Plug the wires into the expander
The data cable is installed through the receiver box’s wire clamp and plugs into the top of the receiver. Reinstall the receiver box lid and the Telemetry Expander’s wire clamp to complete the installation. Remember to grease the foam pads per the instructions to ensure a watertight seal.
 The data cable has its own slot on the receiver
 Seal the expander module by greasing the wire clamp
Traxxas Link Setup
Now we can power up the TRX-6 and get Traxxas Link dialed in. The app will automatically recognize the TRX-6. From there, go to the Garage, select Telemetry Setup, and tap Refresh. The app will recognize the GPS and temperature sensors.
 Go to the Garage and select Telemetry Setup
 Tap Refresh for the app to recognize the sensors
Now you can set up the dashboard. We put the temp gauge on the left, the speedometer on the right, and added inclinometers in the smaller gauge positions (no additional sensors required, they’re built into the receiver). We also set a warning threshold of 180°F for the motor. If the motor gets hotter than that, the app will alert us.
 Customize your dashboard
 Set your warning threshold
To keep the dashboard front and center while driving, we mounted the smartphone on the TQi transmitter using the 6532 phone mount. It swivels and pivots to hold your phone at any angle you choose, and the spring-loaded clamp holds standard- and plus-sized phones.


Finishing Touches
We swapped the TRX-6’s stock replica wheels and tires for mounted Canyon Trail tires. Two benefits: when you add up the weight savings across all six mounted tires, the Canyon Trails knock off a full three ounces of rotating weight, which means less strain for the drivetrain. And, because the Canyon Trails are on 1.9″ wheels instead of the stock 2.2″s, there’s more sidewall cushion to take the edge off bumps and impacts at brushless speeds. Note the sidewall height and rim diameter of the stock tire (in red) compared to the Canyon Trail tire.
 Adding Canyon Trail tires
 Canyon Trail tires have higher sidewalls
Custom Paint
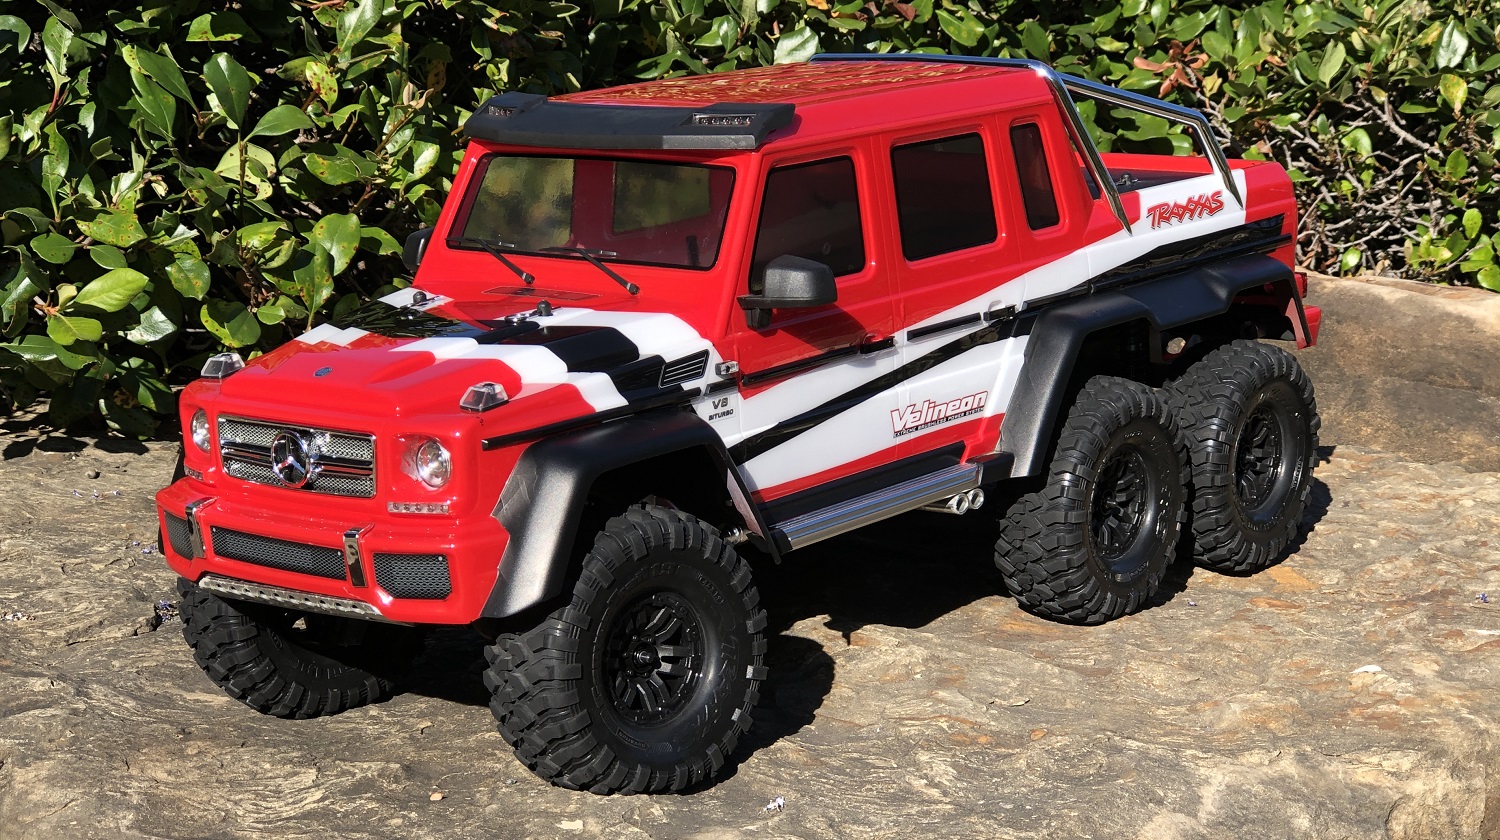
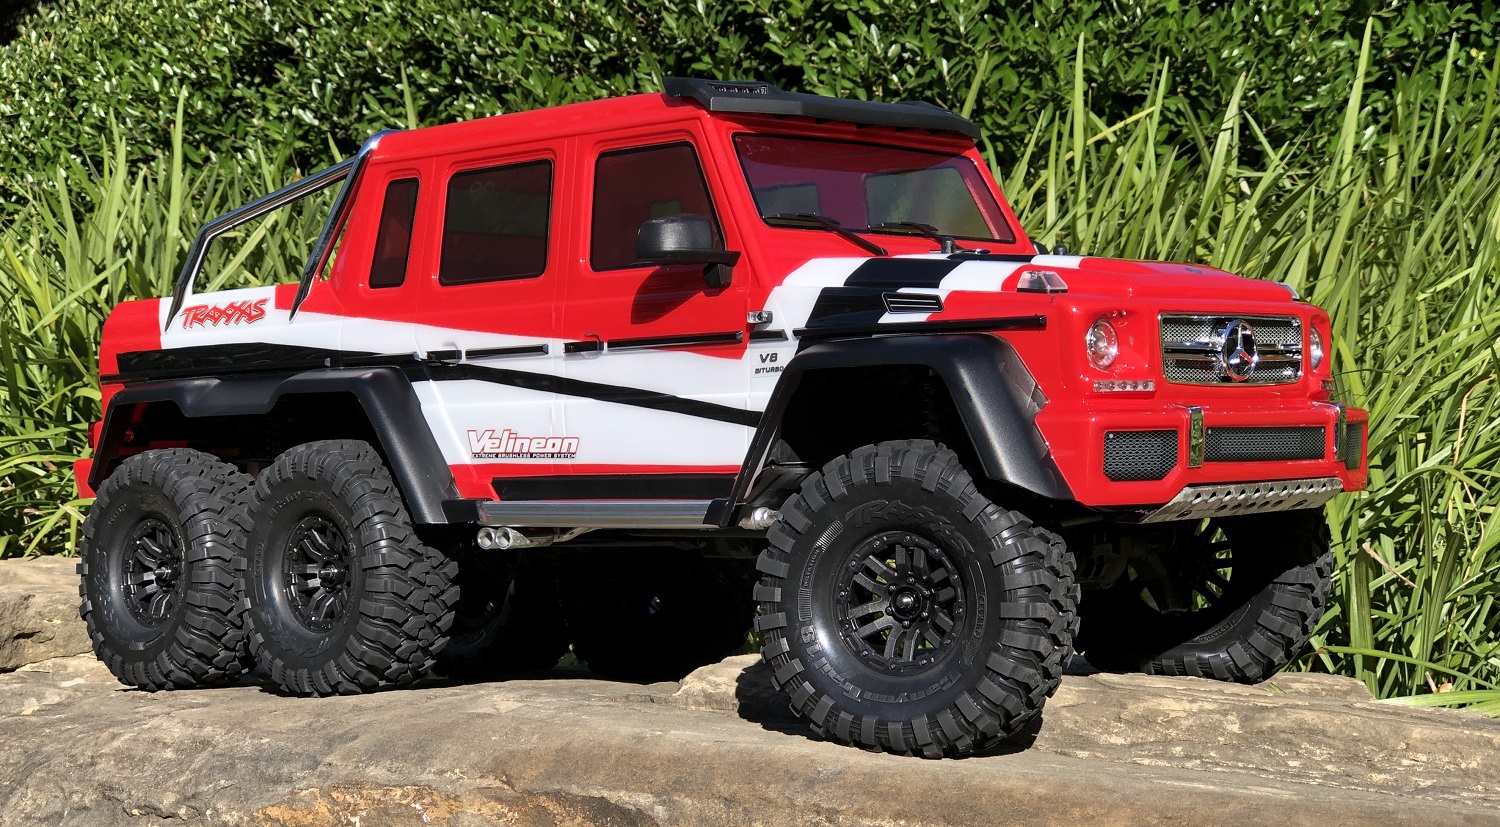
The finishing touch: custom paint. We had a lot of fun painting the graphics on this body, but the end result is up to you. Let your imagination run wild. The 8825 clear body set includes all the decals and injection-molded parts to complete the body with authentic scale detail.


Testing the Brushless TRX-6
VXL-powered TRX-6 testing began with a few full-throttle, high-gear parking lot passes for a top-speed check. All of our high-gear, high-traction testing was done with the differentials unlocked, to avoid extra strain on the drivetrain. The truck showed off strong acceleration with a 3-cell 5000mAh Power Cell LiPo on board, and the Traxxas Link app saved the maximum speed of 23 mph. A few extra passes backed up the figure as the truck’s top speed. That may not sound like a big number by Traxxas standards, but 23 mph looks and feels a lot faster in a scale-proportioned trail truck than it does a wide-track, speed-optimized model. And as you would expect, cornering took a light touch, as high-riding trucks on solid axles will easily roll over easily if subjected to high-speed direction changes.
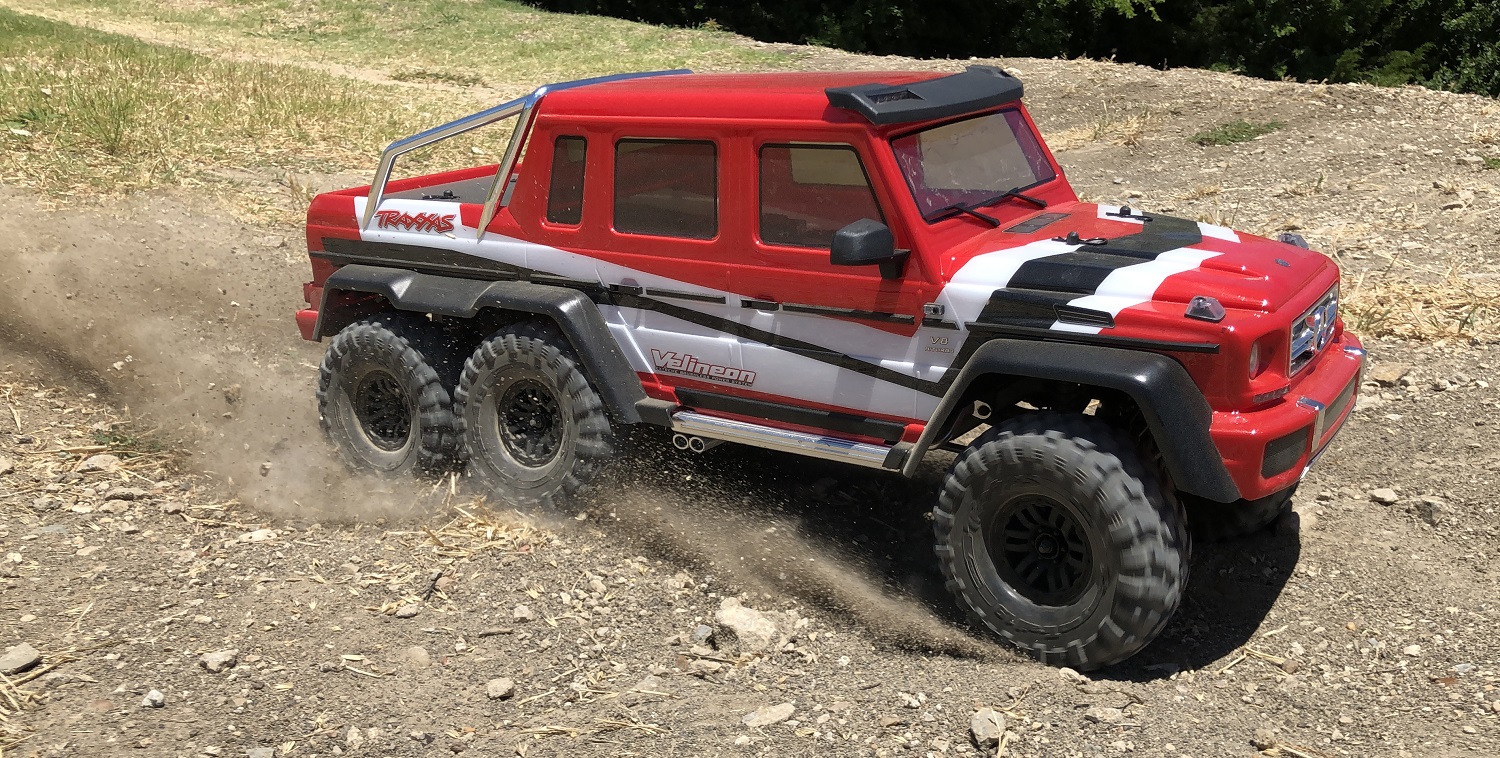
That 23mph felt faster still when off-roading. We took the truck to a disused BMX track for a rally-style session. Short, scruffy grass had overgrown the track entirely except for a narrow track, leaving what looked for all the world like a 1/10 scale rally course. The loose sand in the driving line let us slide the TRX-6 through turns with more speed, and the track’s rolling jumps gave us plenty of opportunity to put daylight under its six tires. The softer Canyon Trail rubber was a good choice, as the taller sidewalls assisted the shocks in their impact-absorbing duties.
We kept an eye on the Traxxas Link dashboard’s temp gauge, and after 20 minutes of high-gear, 3-cell running in the afternoon’s 87° heat, the app let us know we’d reached the 180°F warning threshold. We rested the truck for about five minutes, then mixed up low-gear climbing and crawling with occasional high-gear blasts. This allowed the motor to stay under 180°F. We finished out the pack with about a half-mile of easy trail walking. When the speed control’s Low-Voltage Detection finally kicked in to let us know it was time to recharge, we’d had a full hour of fun with the TRX-6.
For a second test, we recharged the 3-cell LiPo and took the TRX-6 for an easy low-gear trail hike, with only occasional blasts to 23 mph in high gear. Once again, the motor heated to 180°F after about twenty minutes of non-stop running. With this in mind, we swapped the stock 11-tooth pinion for the optional 9-tooth gear. This helps the motor run cooler, with the added benefit of even finer low-speed responsiveness. The shorter gearing also reduces top speed, but the brushless TRX-6 is still good for nearly 20 mph, which is plenty fast for the platform.
Final Thoughts
While the TRX-6 (or any trail truck) isn’t an ideal platform for high-speed thrashing, having all that speed and RPM on tap for the wide-open spaces is a blast. In technical conditions that call for low-gear crawling, the extra wheel speed that comes with brushless power can help the TRX-6 claw out of trouble. We’re calling this experiment a success: the TRX-6 with Velineon power is a trail-flattening beast with a “turbo mode” that lets you hustle between spots with all six tires roosting dirt.
Check out some of the helpful Traxxas how-to videos on the Traxxas Support channel, Like, and subscribe. Click here to go to the channel now.


 Canadian Dollar (CAD)
 Euro (EUR)
