
 Canadian Dollar (CAD)
 Euro (EUR)
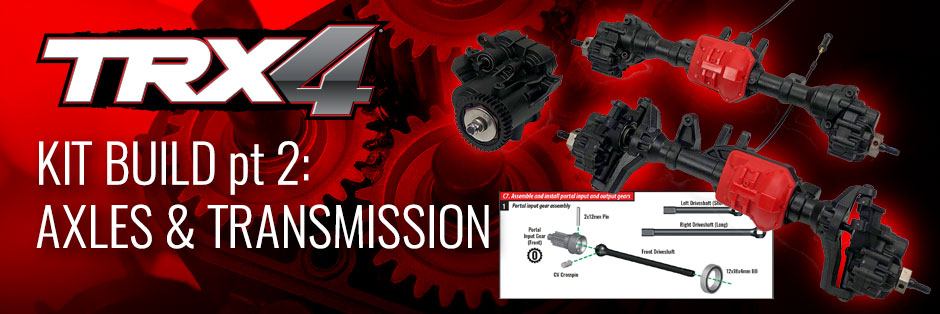
We Start with the TRX-4's Revolutionary Portal Axles and Locking Differentials
 There's no better place to unwind than the RC bench.
Press bearings into position

Use the 4-way wrench

Use needle-nose pliers
 Greasing the transmission
 A little grease goes a long way
 Tightening the clutch
 Here is the completed transmission. The manual made the assembly easy!
 8195 T-Lock Differential Set
 The kit includes everything you need
 Align the slider and crosspin
 Completed differential
 T-Lock differential action
When assembling the portals, install the input gear so it is captured by the 10 x 15mm bearing. The gear should sit flush with the back of the portal housing and the bearing face.
 Installing the input gear into the portal axle
 Make sure the input gear is flush
 Here is a completed rear axle
With the rear axle complete, it's time to tackle the front. This would be a good time to double-check that you installed the correct T-Lock cable in the rear. The longer of the two cables goes to the rear so you should have the shorter cable left for the front. The front axle assembles just like the rear with the addition of the caster blocks to steer the portal assemblies. The blocks are labeled L and R to indicate left and right, but they will still fit if installed backwards. Before you tighten everything up, make sure they are installed correctly. When properly installed, the caster blocks “lean back” to provide the correct caster angle for the steering system.
 Installing the caster blocks
 The top of the caster block should "lean back"
When assembling the front driveshafts, install the CV crosspin into the shaft first. Next, install the input gear over the shaft and secure it with the the thin crosspin. The 12 x 18 mm bearing captures the pin so it can’t fall out.
 Front axle assembly
 Crosspin installation
 Completed input gear
With the front portal axles complete, all you need to do is install them into the axle assembly and secure them with screws. The portal with the short driveshaft goes on the left side of the axle.
 Completed portal axles
 Completed axles and transmission
That's all for part 2 of our TRX-4 Kit build. Coming Up in Part 3: the chassis! Missed a step? Click here to go back to Part 1.