Whether you are building a monster Slash
® 4X4, creating an all-out speed machine, or adding extreme brushless power, the added strength of heavy-duty steel CV driveshafts (
6451 &
6452) will help keep you going as you jump higher and rip harder. These heavy-duty driveshafts were originally developed to handle the extreme 100+ mph performance of the XO-1
® AWD Supercar.
This upgrade will require some minor changes to accommodate the larger 6 mm axles and will work for most 1/10 scale brushless 4X4 models including Slash 4X4, Stampede
® 4X4, and Rally VXL. In this detailed video you will learn how to install the oversized XO-1 driveshafts into a Slash 4X4. Be sure to check the list below to ensure you have all the necessary parts for the project.
- 6451 Front Driveshafts x2
- 6452 Rear Driveshafts x2
- 6439 Steering Blocks
- 6455 Rear Axle Carriers
- 6869 Wheel Adapters
- 5117 Ball Bearings x3
- 5041 High Performance Grease
|
| |
 Remove the wheels and disconnect the turnbuckles
Begin by removing all four wheels with the 4-way tool. Set the wheels and lug nuts to the side. Next, disconnect the rear turnbuckles from the rear axle carriers.
 Remove the axle carrier
Remove the suspension pins holding the axle carriers in place and then remove the axle carrier with the half shaft attached. You will not need to reuse the carriers or bearings.
 Remove the half shafts from the differential
Use the 1.5 mm driver to remove the screw pins holding the half shafts to the differential output shaft. You will not reuse these parts.
 Install bearings into the carriers and insert the axles
Open the 6455 aluminum axle carriers and insert two of the 5117 bearings into both carriers. Once the bearings are seated, insert the 6452 CV driveshafts through the bearings after placing a Teflon washer over the axle shaft. You may use a very light coating of grease on the axle shaft to help it slide better.
 Mount the new hex hubs
Install the 6869 hex hubs onto the new axles and secure them with the included screw pin.
 Reinstall the driveshaft, carrier, and turnbuckle
Install the completed assembly reusing the original suspension pin to hold the axle carrier in place. Be sure the markings on the carrier face the rear. Attach the driveshafts to the output shaft on the differentials with the included screw pin. Apply a small amount of threadlock to the screw when you reattach the turnbuckle.
 Test the suspension
Once you have finished the rear, test the suspension to ensure everything extends and compresses smoothly without binding.
 Remove the front caster blocks and axles
Start in the front by removing the caster blocks from the suspension arm. You will need to remove the suspension pin and also the two screws securing the turnbuckle and steering link. Once the screws are removed, pull off the half shaft. You can pull off the inner haft shaft just like the rear by removing the screw pin with a 1.5 mm hex driver.
 Separate the steering blocks
Once the caster blocks are out, separate the steering block from the caster block by removing the upper and lower shoulder screws holding the steering block in place.
 Remove the old axle and bearing
Pop off the plastic wheel hex from the axle and remove the pin so the axle will slide out. You need to access the inner bearing to reuse it with your new aluminum steering blocks.
 Install bearings in the steering blocks and insert the driveshaft
Install the reused bearing into the inner side of your new 6439 steering blocks and press the last two 5117 bearings in the outer side. Once the bearings are installed, insert the new 6451 steel CV driveshafts through the bearings. Attach the hex hubs with the screw pins using the same process as the rear.
 Reattach the steering blocks, caster blocks, and driveshafts
Reattach the steering blocks to the caster blocks, using a small amount of threadlock on the shoulder screws to prevent them from loosening. Once they are reassembled, mount the caster blocks back to the suspension arms and secure them with the suspension pins. Secure the CV driveshafts to the differential output shafts with the included screw pins and tighten them down.
 Reattach the steering link
Apply a small amount of threadlock to the screw as you reattach the steering link. This will prevent it from loosening.
 Drill out the wheels
Before you reattach the wheels, you must drill the center hole to accommodate the larger 6 mm axles. Using the drill bit included with the hex hubs and carefully drill out the center hole to all four wheels.
 Reattach the wheels
Once the wheels are complete, reattach them and tighten down the lug nuts. Double check your work and make sure the suspension compresses and rebounds smoothly.
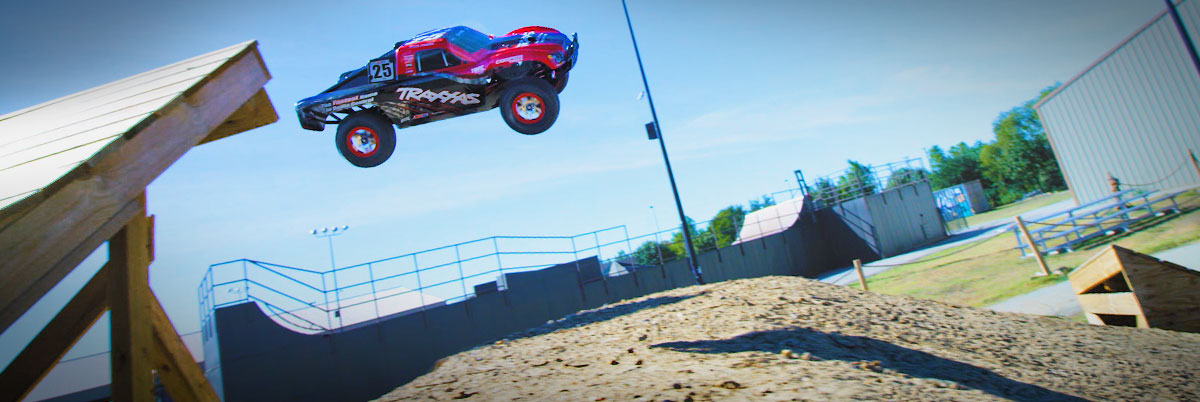
Outfitted with XO-1 driveshafts, your Slash 4X4 is now ready for intense, over-the-top action. Check out our parts finder for dozens of other upgrades and accessories. With the best customer service and parts support in the industry, Traxxas makes customization fun and easy for hobbyists of all skill levels.

 Canadian Dollar (CAD)
 Euro (EUR)