The store will not work correctly when cookies are disabled.
This website uses cookies to enhance your user experience.Your interactions and personal data may be collected on our website by us and our partners in accordance with ourPrivacy Policy.
Please create a new account
Use the same email as the previous website to link your account
Sign Up Here
Traxxas Support is open 7 days a week!
Dial 888-TRAXXAS or click Live Chat 8:30am-9:00pm CST.
Learn more.
FREE standard shipping on all orders over $99!
Discount automatically applied at checkout.
Learn more.
Add the final touches and accessories for that perfect scale look
The Ford® Bronco body for TRX-4® is one of the best looking RC scale trucks ever to hit the trail. The Bronco body comes pre-painted in black with the holes already pre-drilled to make mounting a snap. To complete the scale look, simply apply the decals and attach the scale accessories to the body. This video and article will show you how to put the finishing touches on your custom TRX-4 Ford Bronco creation.
Required Tools
1.5 mm hex driver
2 mm hex driver
Hobby knife
The Assembly
Remove the protective film
Begin by removing the protective film. Be careful removing the film around the windshield wipers. While working, it would be a good idea to put a soft towel down on your workspace to avoid scratching the body before it hits the trail.
Apply the decals
Once you have removed all the film, choose which color decals you want to use. The Bronco body kit includes full sets of both the red and sunset decals. For helpful tips on installing decals, see the How to apply decals video.
Cut a hole for the tire carrier
Applying the tailgate decal will obscure the hole for mounting the spare tire carrier. Locate the hole and carefully trim the decal using a hobby knife.
Attach the tire carrier
With the decal trimmed, reattach the spare tire carrier. Be sure to line up the inner hardware to keep the screw from pulling through the body.
Cut holes for the side mirrors and doors
Trim holes in the decals for the side mirrors and door handles. It may be easier to find the holes if you trim from the inside.
Attach side mirrors and handles
With the holes trimmed, insert the side mirrors and door handles.
Attach the inner hardware
Attach the inner hardware onto the posts for the side mirrors and door handles. The rubber grommets will keep the parts secure along with the mini clips.
Remove the stock front bumper
Remove the two screws securing the front bumper and then remove the bumper. Don't install the new one until you've had a chance to line it up with the body.
Attach the new front bumper
Install the new bumper and then place the body onto the truck. Adjust the bumper until it lines up with the body and then secure it with the two screw pins.
Your TRX-4 Ford Bronco is now ready for some trail conquering fun. Be sure to post pics of your adventures to Facebook, Instagram or Twitter. Now that your TRX-4 is sporting a new Bronco body, it's time to consider some upgrades. For more information on lift kits, drivetrain upgrades, and LED light kits see the full list of accessories below.

 Canadian Dollar (CAD)
 Euro (EUR)

 Remove the protective film
 Apply the decals
 Cut a hole for the tire carrier
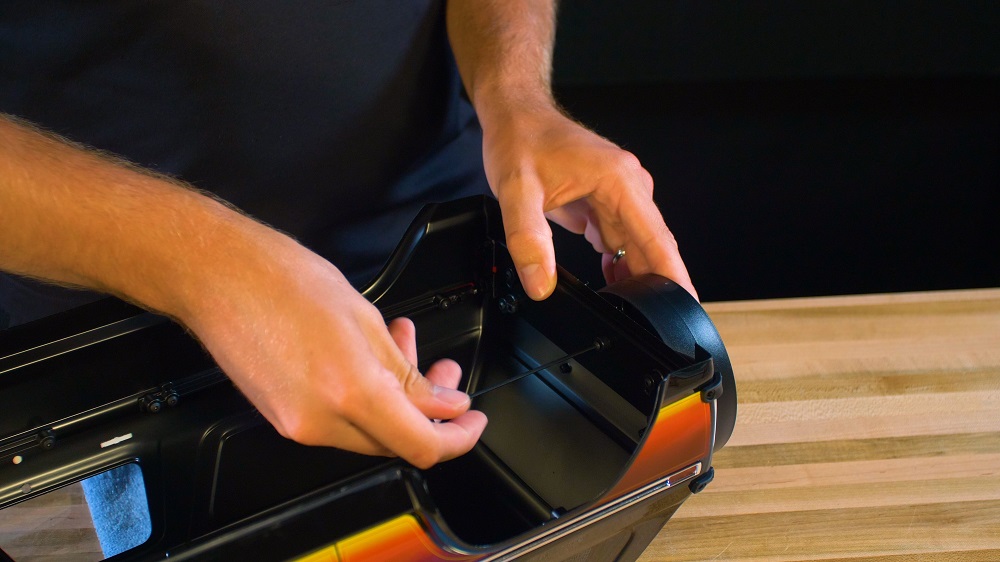 Attach the tire carrier
 Cut holes for the side mirrors and doors
 Attach side mirrors and handles
 Attach the inner hardware
 Remove the stock front bumper
 Attach the new front bumper