Part 1: Adding the Long Arm Lift Kit and 2.2 Beadlock Wheels and Tires
For our second TRX-4 project build, we’re going all-out to build the ultimate muck machine, and it all starts with the super-popular ’79 Ford Bronco Ranger XLT (82046-4). The plan includes a fat set of 2.2 tires and a lift kit to get them under the truck, Traxxas’ strongest servo to move those big meats with authority, Velineon brushless power so even the stickiest muck won’t get us stuck, and a full complement of steel and aluminum axle upgrades for over-the-top strength and durability. Oh, and LED lights. Gotta have lights.
 Maximum Mud Bronco Build Parts
| | |
| Build List: Part 1 | |
| | |
|
|
View the Full Line of Bronco Accessories
Wheels, Tires & Lift Kit
If there’s one mod that instantly makes any 4X4 look like a rougher, tougher, more serious off-road rig, it’s an upgrade to bigger, beefier tires and a suspension lift. But it’s not just about looks; as tire-diameter goes up, so does ground clearance, and the size of the tire’s contact patch. That means more grip and less hang-ups, and for our mud-build, a better chance of staying on top of the sticky stuff. As the photos show, the Bronco’s stock 1.9″ Canyon Trail tires have an outside diameter of 4.6″ (118 mm), while the 2.2″ versions are nearly an inch taller at 5.3″ (135 mm). The 2.2’s larger diameter also means they roll farther with each revolution, which effectively makes the Bronco’s gearing “taller.” To compensate, the Lift Kit includes a 10-tooth pinion to replace the factory 11-tooth gear.
For this build, we’re mounting Canyon Trail 2.2 tires on Method 105 wheels in black chrome with red beadlock rings. You can also get these wheels in charcoal gray, and the rings are also available in satin aluminum, blue, black, orange, and green. The 2.2″ tires are 20 mm taller than the Bronco’s stock 1.9″ rubber, and roll about 2.5″ farther with each revolution. In case you were wondering: yes, you can install the 2.2s without the lift kit, but you won't like the results. If you try to drive this setup, you’ll quickly discover the tires will the rub the fenders and grab the bumper (just like they would if scaled up for a full-size Bronco). The lift kit is a must.

Method 105 Wheels and 2.2″ Canyon Trail Tires

2.2″ Canyon Trail Tire Next to a 1.9″ Canyon Trail Tire

2.2″ Wheels and Tires Without a Lift Kit
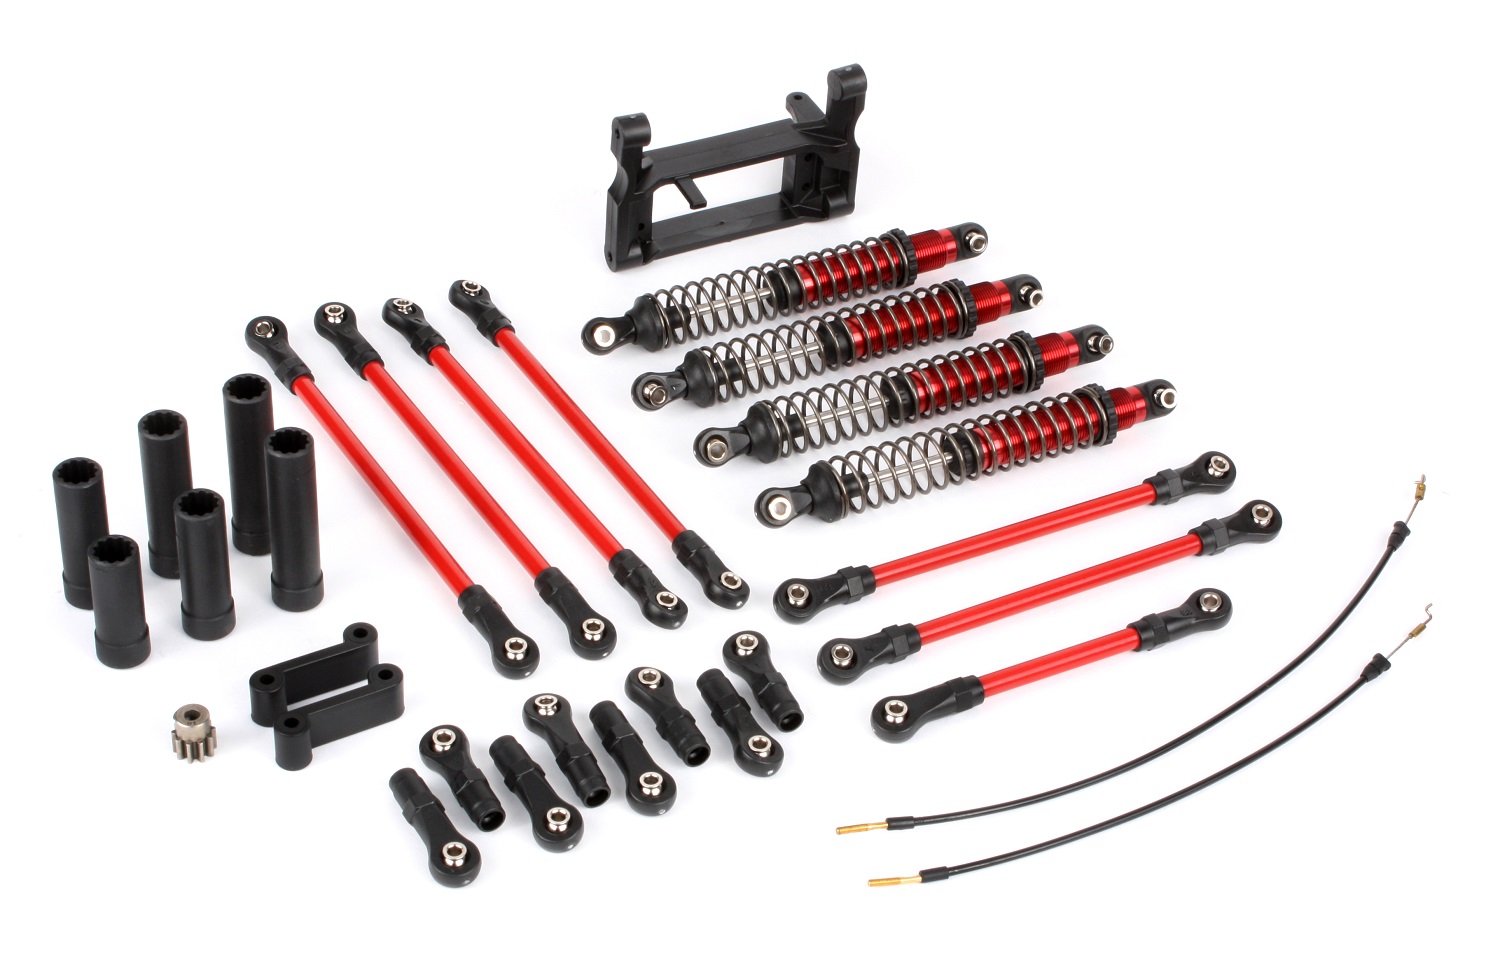 TRX-4 Long Arm Lift Kit
The Long Arm Lift Kit includes everything you need for the install, including longer T-Lock cables, a lowered mount for the servo that preserves the correct Panhard bar geometry, a 10T pinion gear, plus full-color instructions. The Lift Kit shocks are 20 mm longer than the stock GTS shocks. Silicone oil is included to fill them. Traxxas assembles the suspension links for you (fist pump) in the correct length for TRX-4s with a 12.3″ (318 mm) wheelbase. If you’ve got a Bronco or Sport, they’re ready to install. If you’ve got a TRX-4 Defender or Tactical Unit, you’ll just need to install the included longer rod ends to accommodate those models’ 12.8″ (324 mm) wheelbases. Not required, but nice to have: the 8146R Steering & Panhard links replace the Bronco’s black linkages with red versions to match the Lift Kit’s links.

Longer GTS Shocks
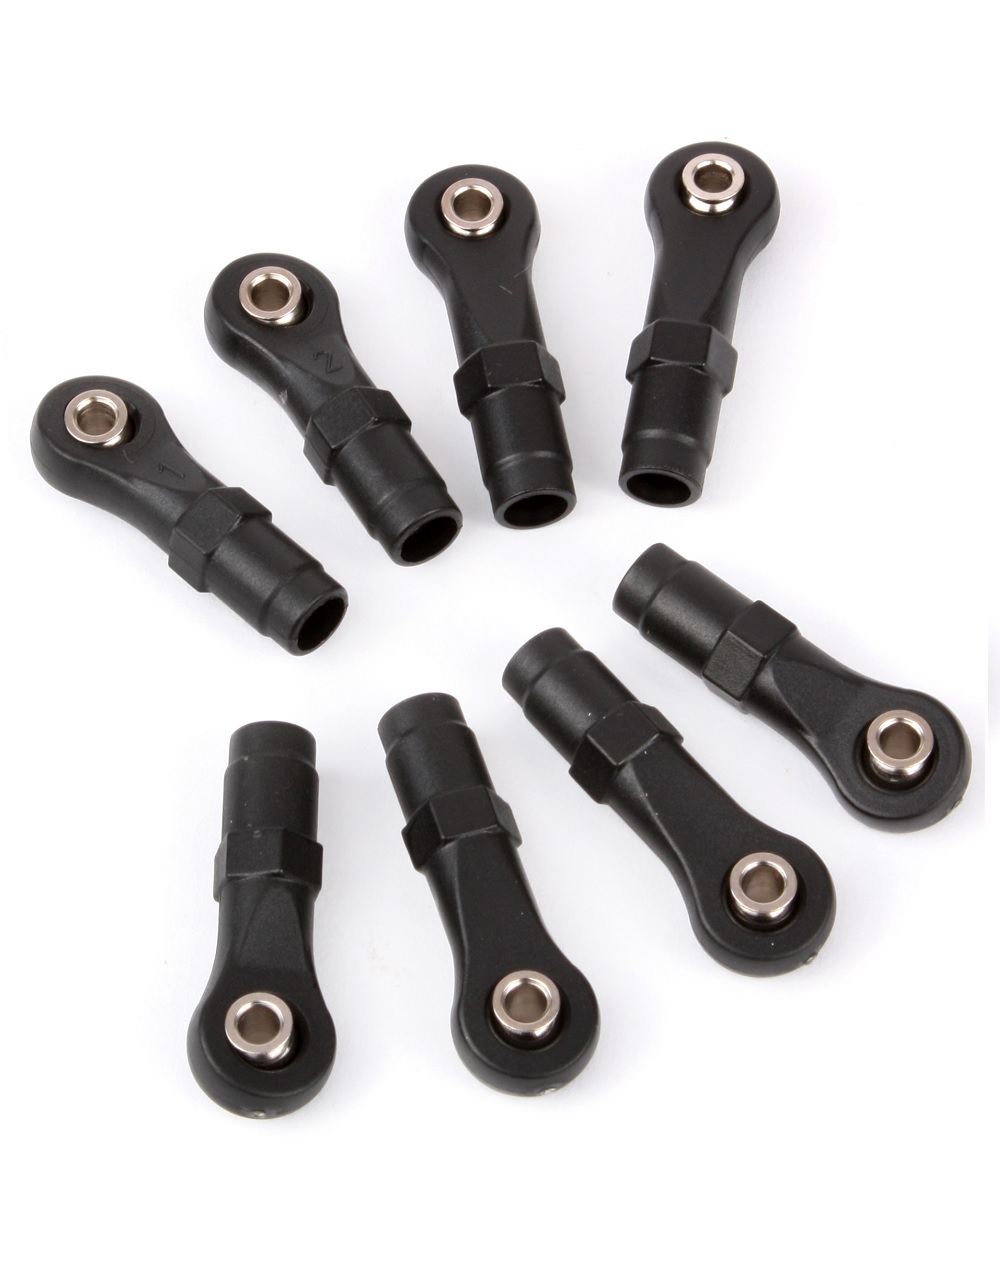
Rod Ends
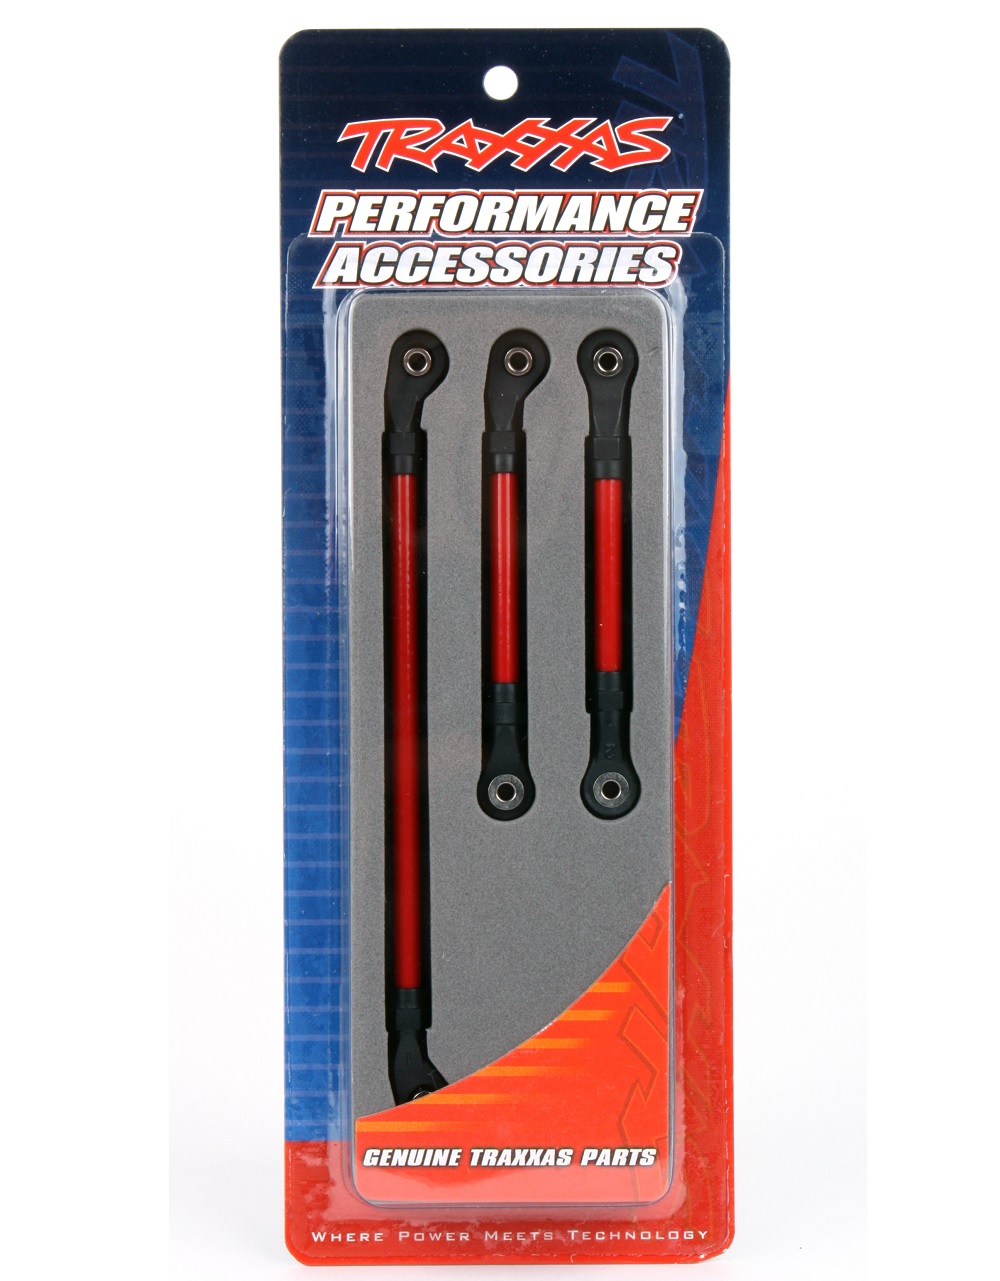
Steering Links
Red anodizing is always a great look. While the axles are off the truck for the Lift Kit install, we’ll install these bad boys. Goopy mud is a huge drag on tires, which means the drivetrain has to work extra hard. To better withstand the strain, we’ll replace the axle driveshafts and portal input gears with these machined chromoly versions. The ring and pinion gears will be upgraded too, to machined steel. These parts were featured in our Ultimate Trail Truck build. For more detail on installing them, click over to the Ultimate Trail Truck build.
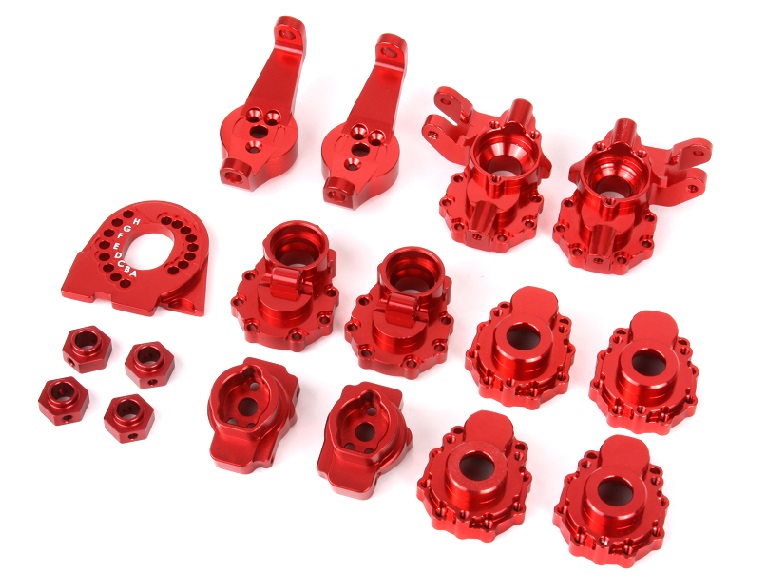 Red aluminum parts
 Machined Steel Gears
 Chromoly Steel Axles
And here are our dressed-up axles—seems like kind of a shame to literally drag these through the mud. Remember to install the longer T-Lock cable in the REAR axle. The links and shocks are installed on each axle, then the assemblies bolt onto the chassis. It’s all in the instructions, which also cover filling the shocks. The Lift Kit manual is very thorough, but that thoroughness also makes the install seem like a more complex job than it really is. Rest assured, there’s nothing difficult here. Just follow the steps!
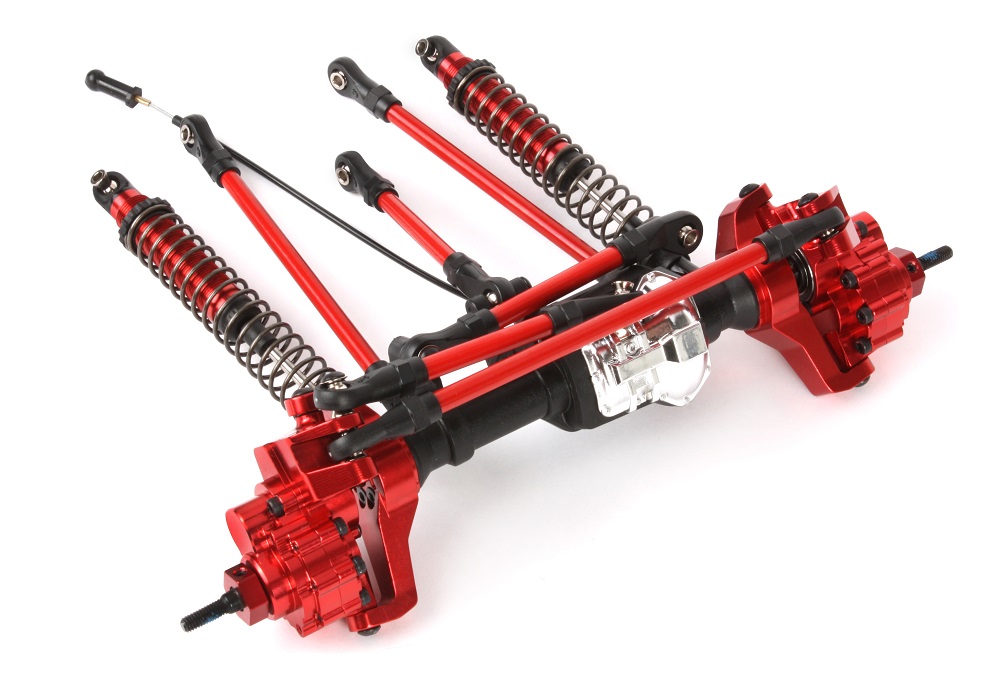 Front Axle Built
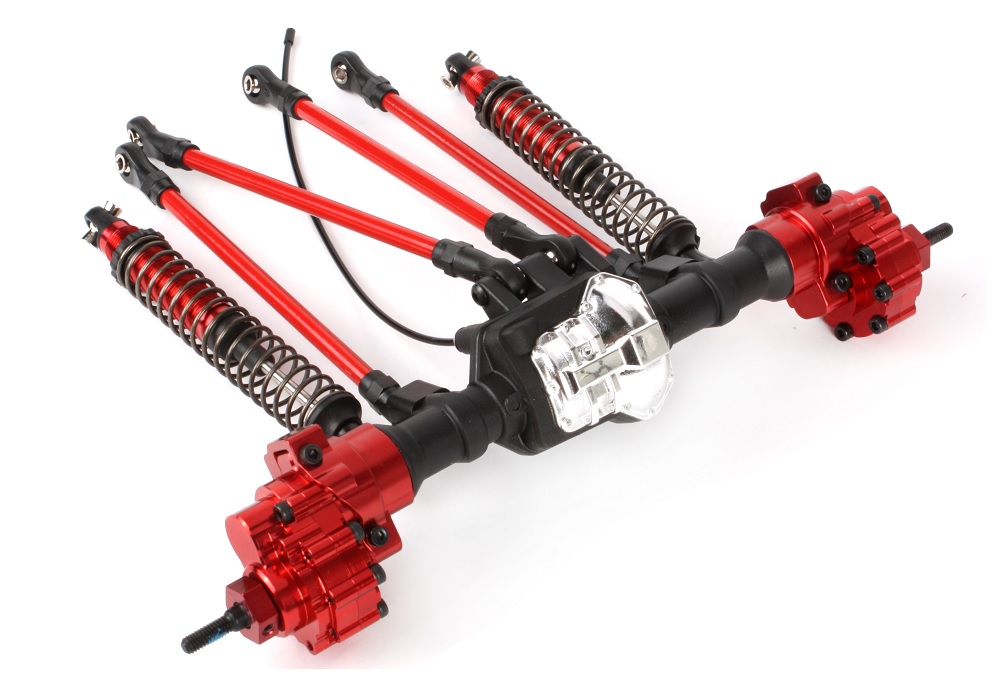 Rear Axle Built
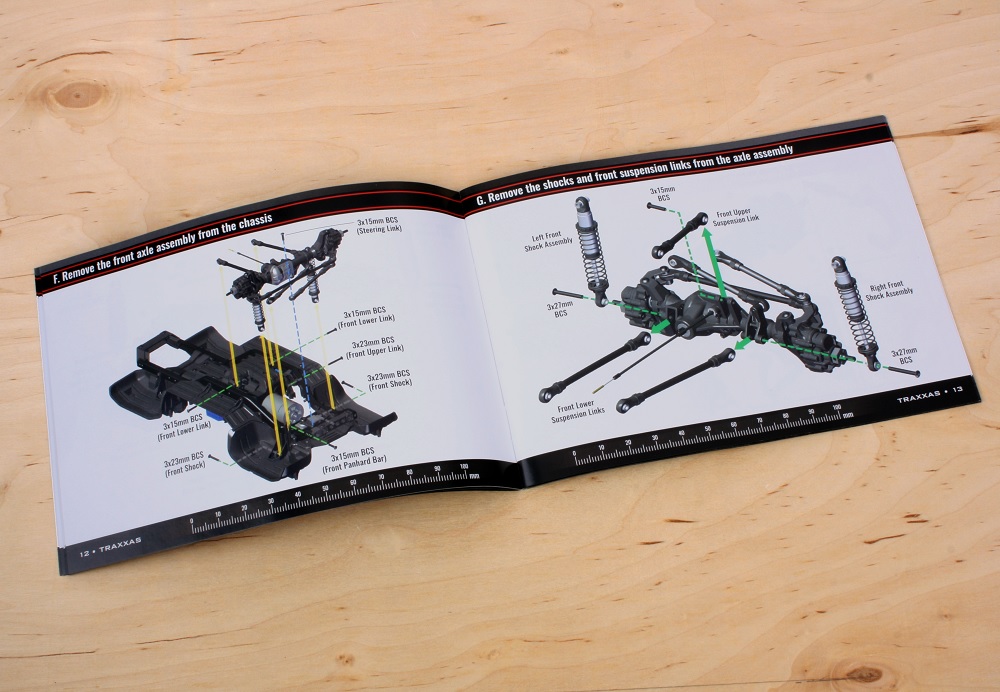 Lift Kit Manual
The Lift Kit includes a new servo mount that lowers the servo to maintain proper steering geometry. Install the mount before reinstalling the axles. We upgraded to the 400 ounce-inch High Torque servo along the way and installed the external BEC (2262) to adequately supply voltage to the power-hungry high torque servo. The anodized and powder-coated parts look T-rick, and now our Bronco has the lift it needs to put those Canyon Trail 2.2s to work. Here’s the stock 1.9″ configuration and the new 2.2-and-lift setup. This Bronco is going to be a mean mud machine!
 400 Red Servo Installed
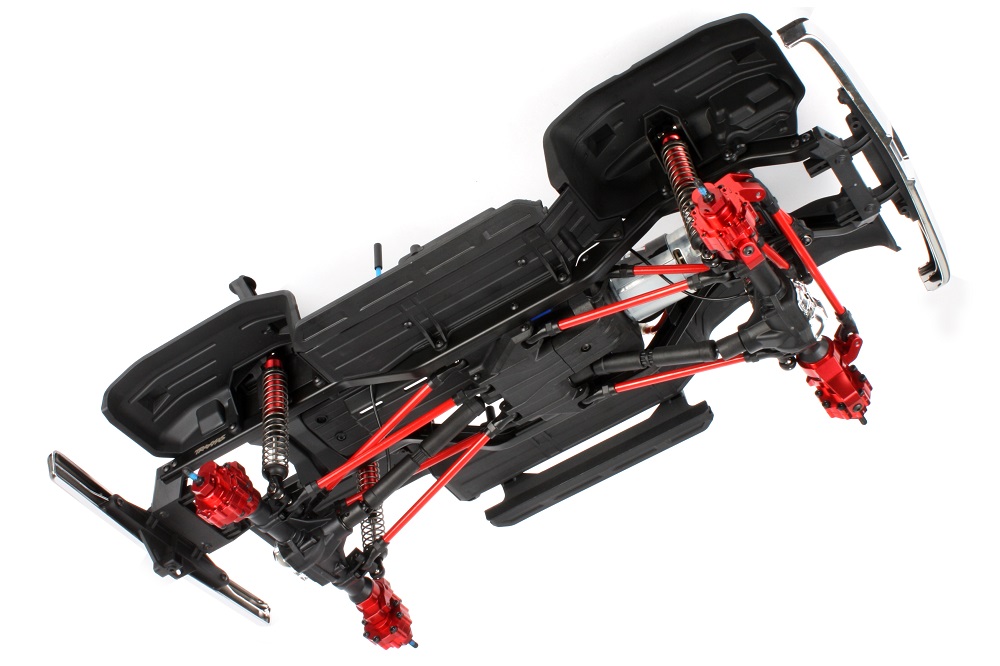 Links Installed
 Side Chassis Comparison
We’re not done yet. Jump to part 2 as our Maximum Mud build gets a horsepower boost with a Velineon Brushless swap!
Get your wrench on, and show us how your lifted TRX-4 turned out! Post your pics to Facebook, Instagram or Twitter with #MyTRX4Build, and we’ll be sure to share some of our favorites.


 Canadian Dollar (CAD)
 Euro (EUR)
