Boost the Durability of Your 1/16 Scale Traxxas Truck

You can boost the durability of your Traxxas 1/16 scale model by replacing the factory-installed plastic-gear 2080 steering servo with the optional, metal-gear 2080R waterproof servo. Installation only takes a few minutes, and it’s easy to do. Follow along with the steps below, or watch this full how-to video.
Traxxas 3415 tool kit
The Traxxas 3415 tool kit includes the all the hex bits and nut drivers you will need for this installation or any other Traxxas model. The kit comes complete with a ratcheting handle and convenient storage case.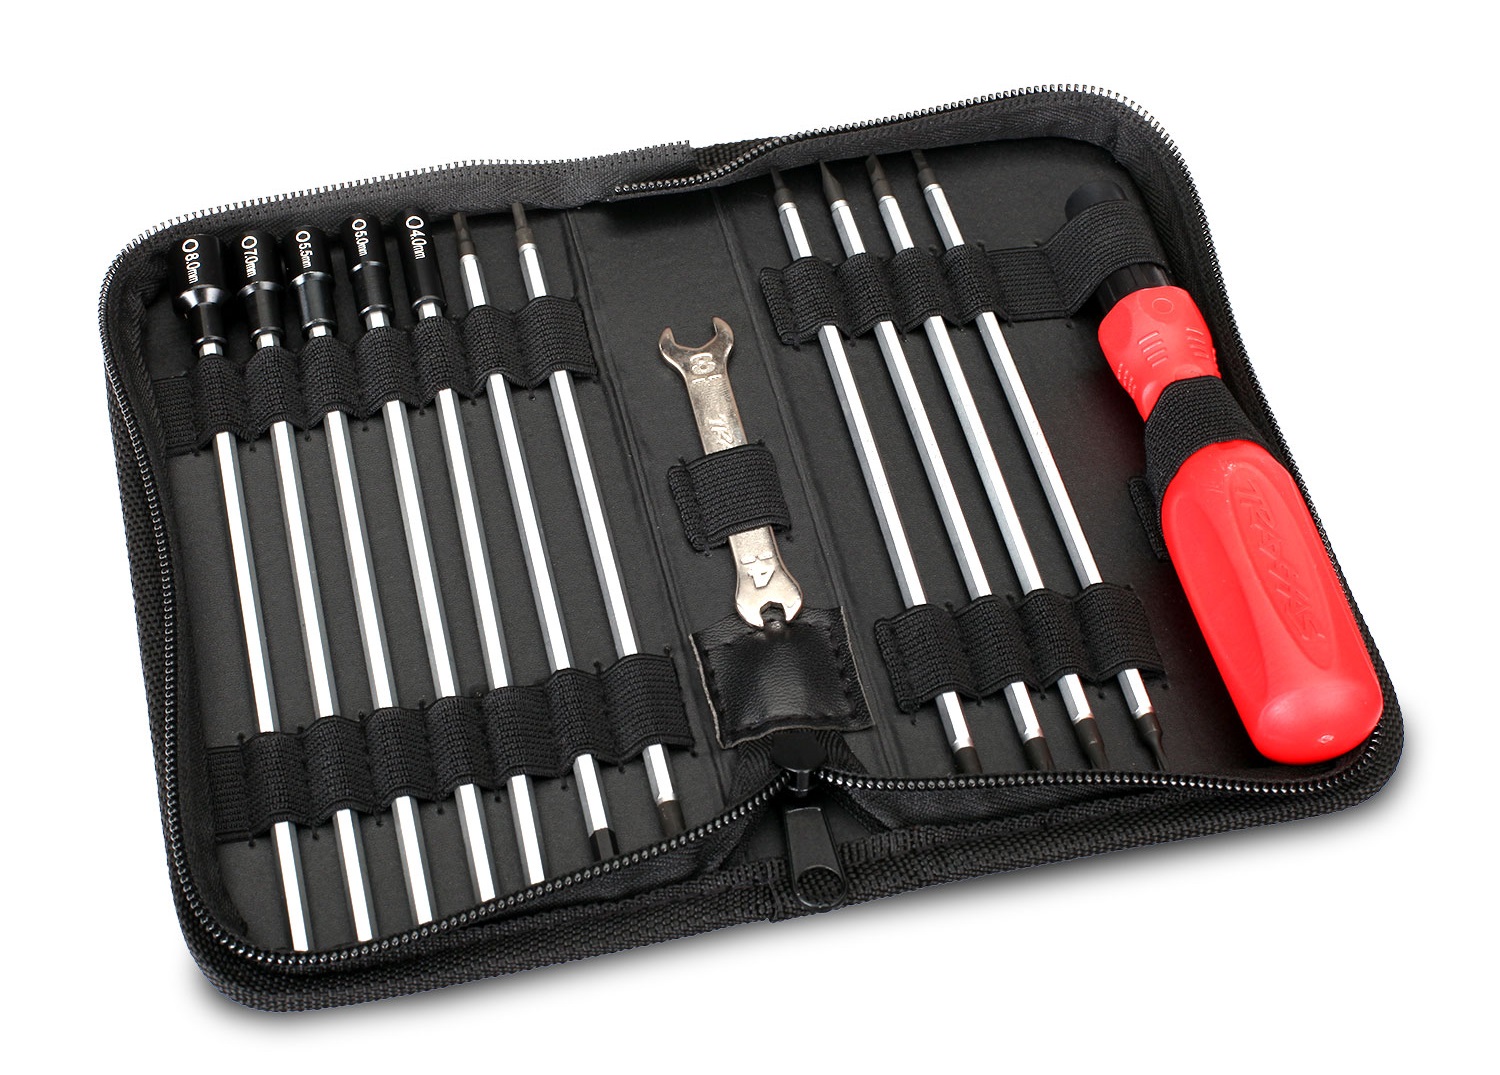
| |
| Required Tools |
| |
|
| |
| |
1) Begin by removing the battery and body, then use the 7 mm nut driver to remove the wheels. You could leave them on, but it’s easier to work on the bare chassis. Disconnect the motor wires by pulling on the plug. Don’t pull on the wires themselves. Open the battery compartment and slide the speed control away from the motor so you have clearance to remove the motor.
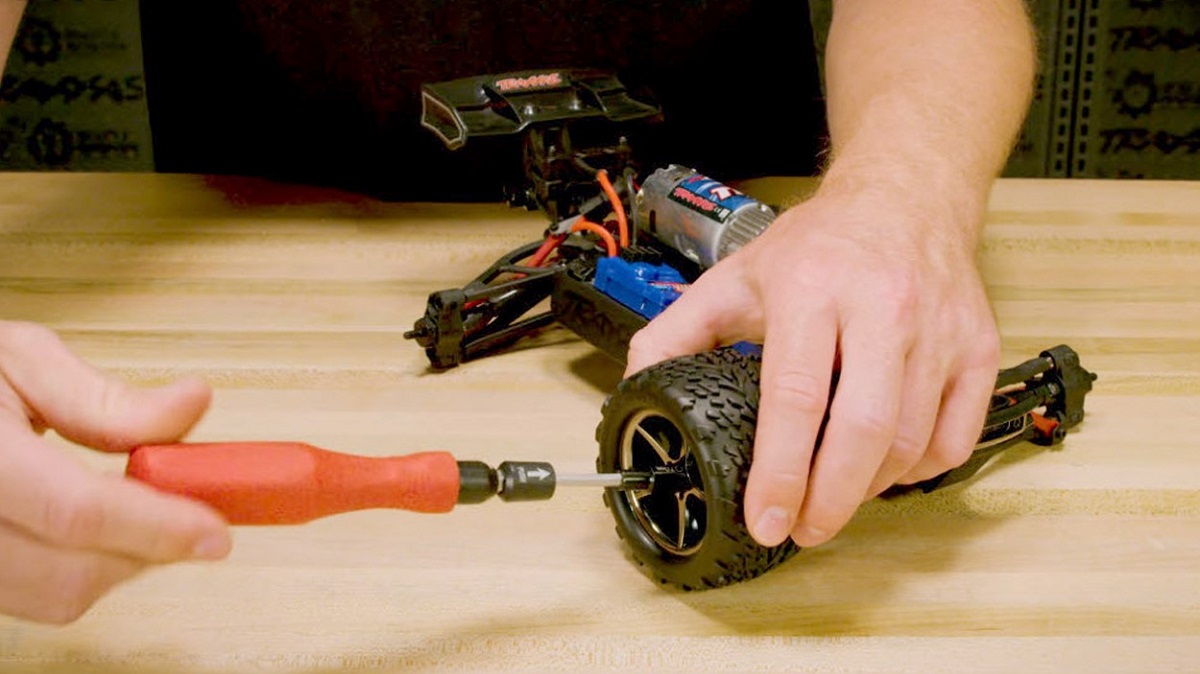 Remove the wheels
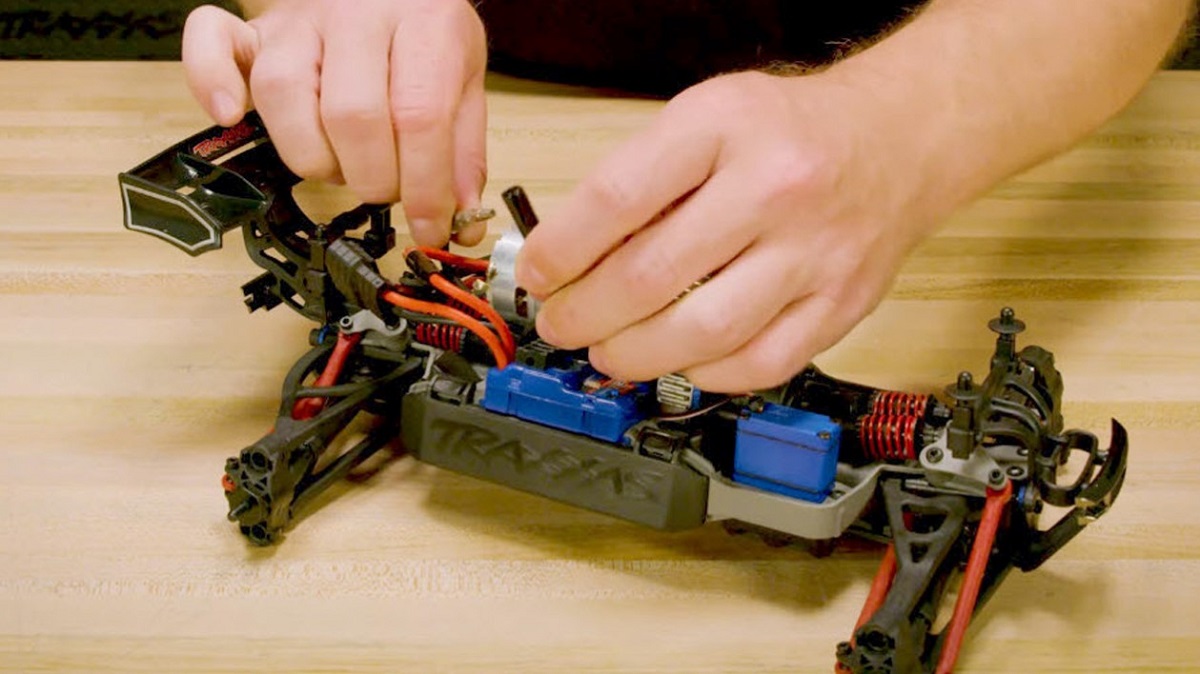 Disconnect motor wires
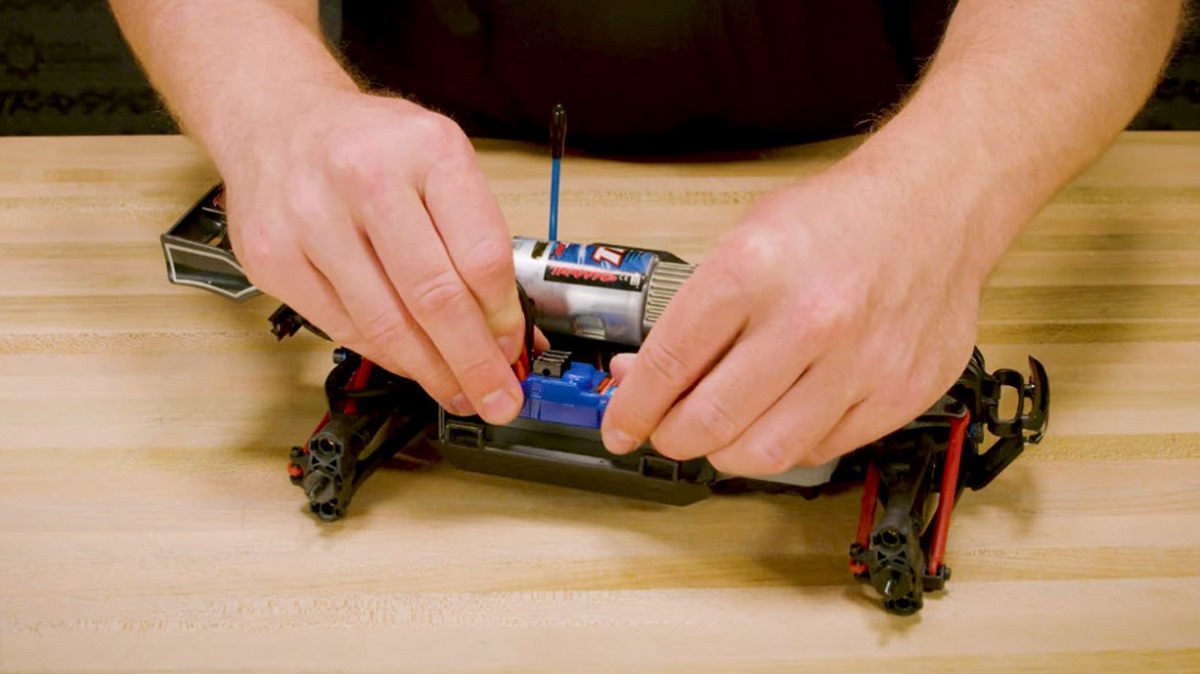 Slide the ESC out
2) Remove the 2.5x6 mm screw that secures the gear cover and the 3x10 mm cap screw that secures the motor, then remove the motor. Now you can access the receiver box.
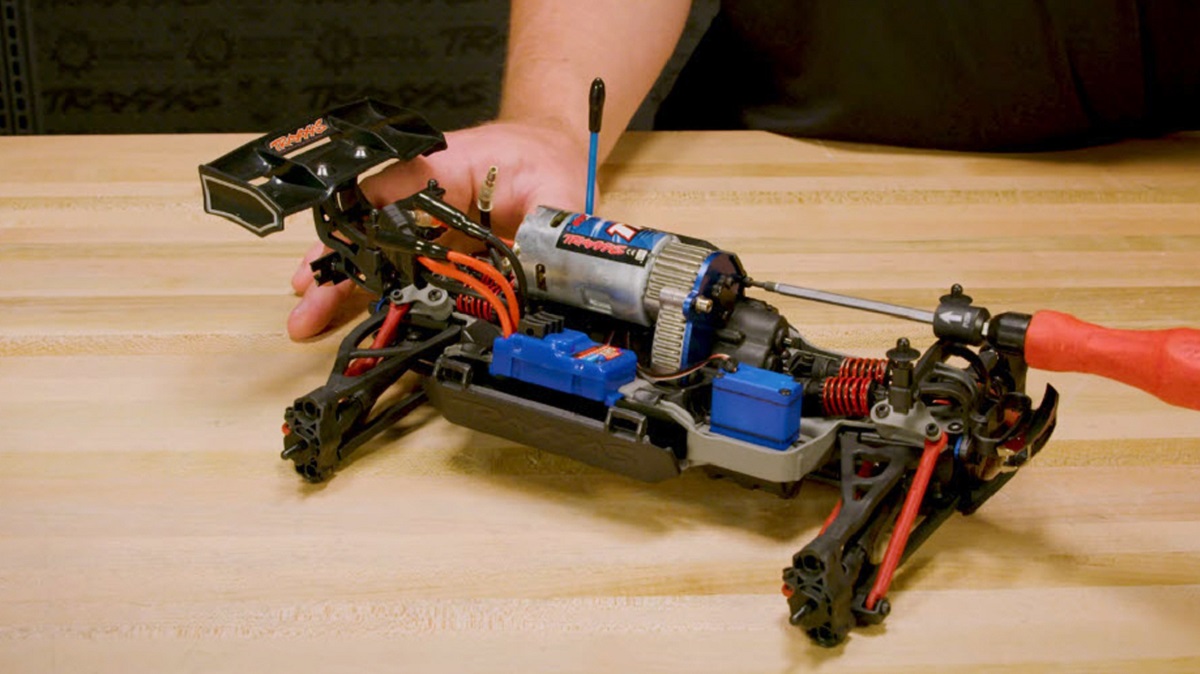 Remove the gear cover
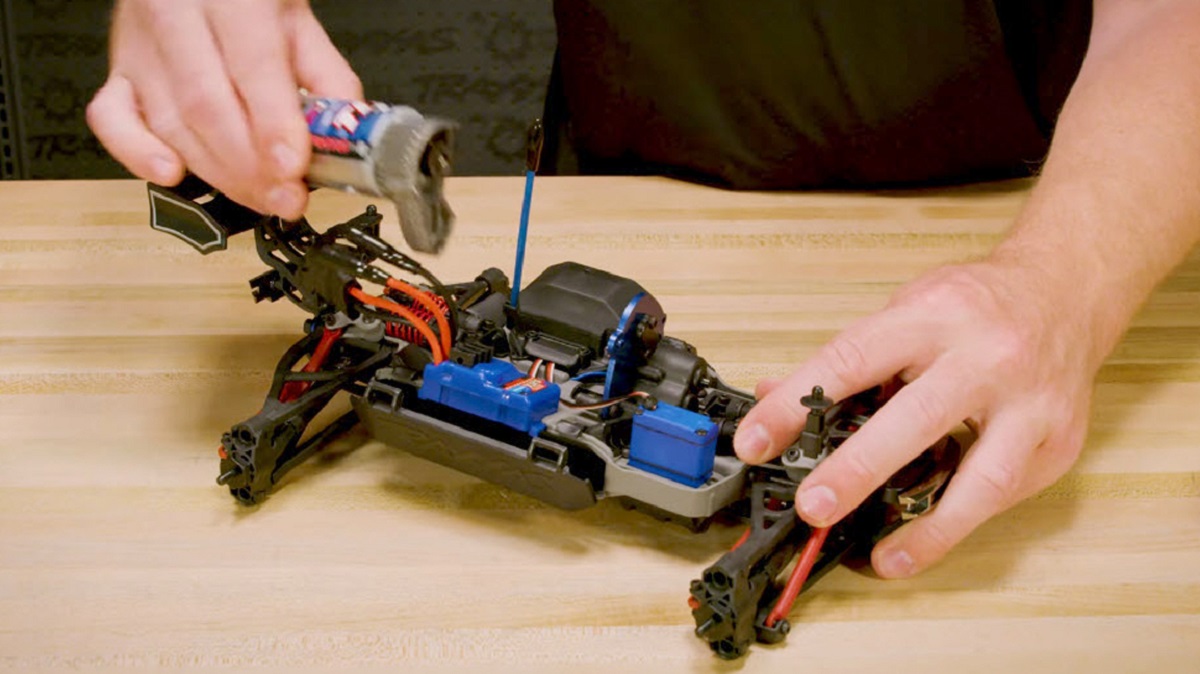 Remove the motor
3) Remove the two 2.5x8 mm cap screws that secure the wire clamp, and the two 2.5x8 mm cap screws that secure the receiver box cover. Unplug the servo from the receiver. It’s the plug in the channel-one slot, labeled “CH1.” Pull the servo’s wire and connector out through the slot in the receiver box. Remove the two 3x12 mm buttonhead screws that secure the servo. The servo guard below the chassis will also be released when the screws are out.
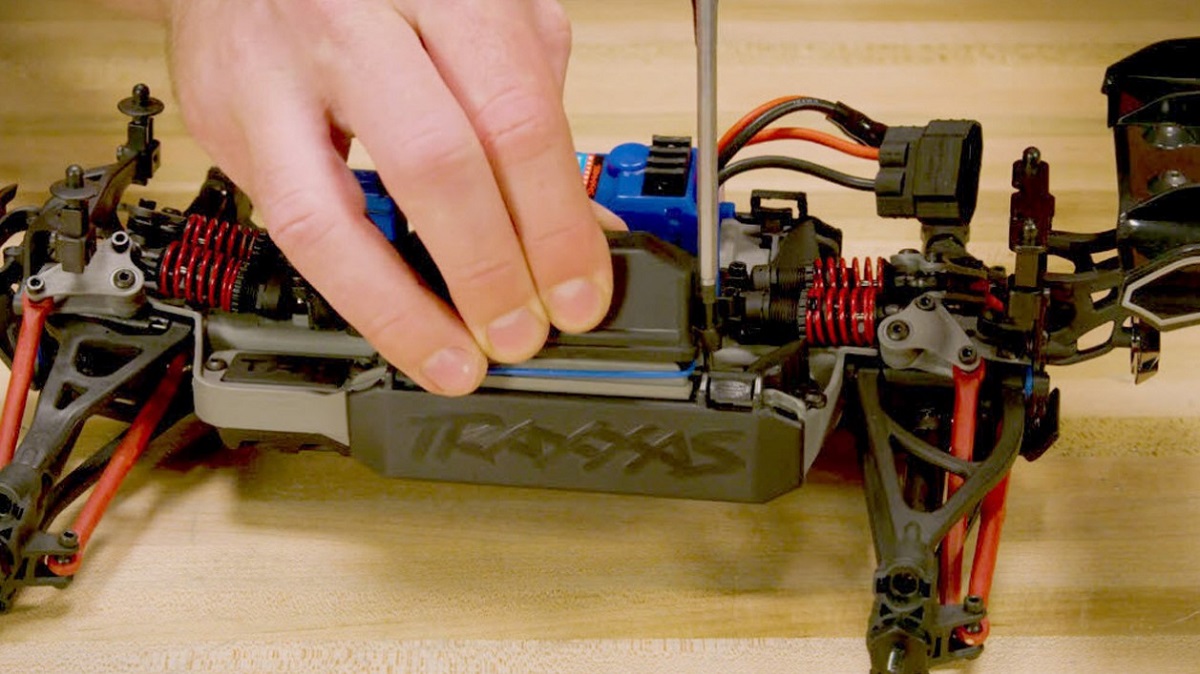 Remove receiver screws
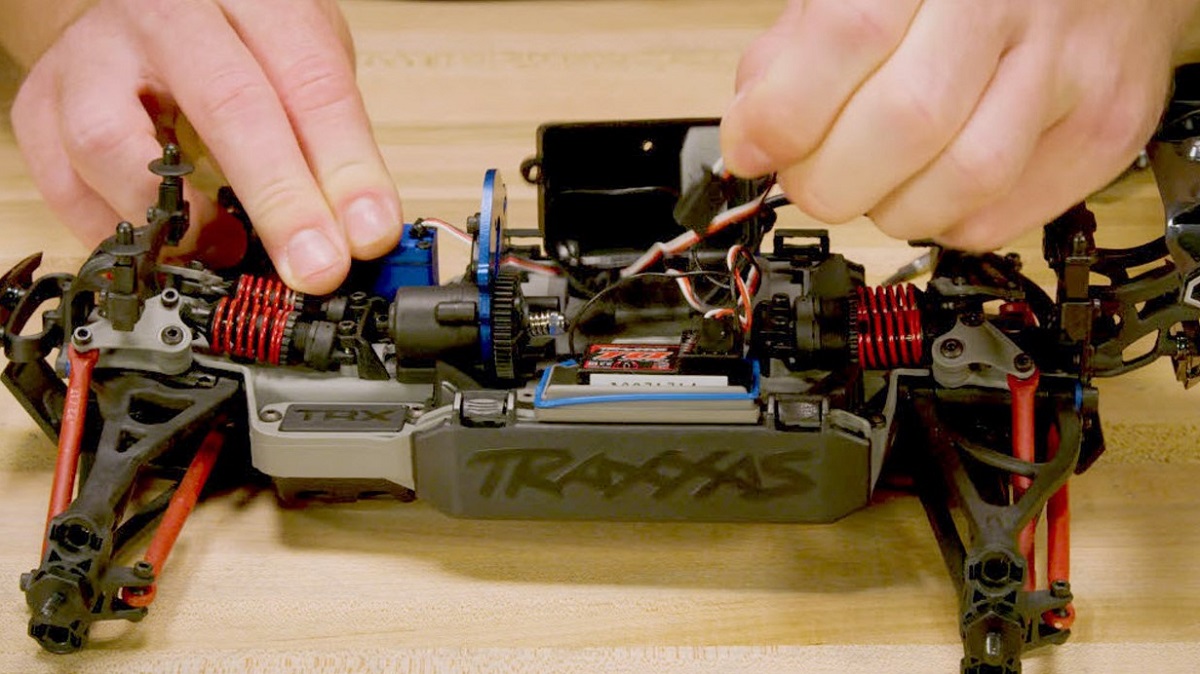 Unplug the servo
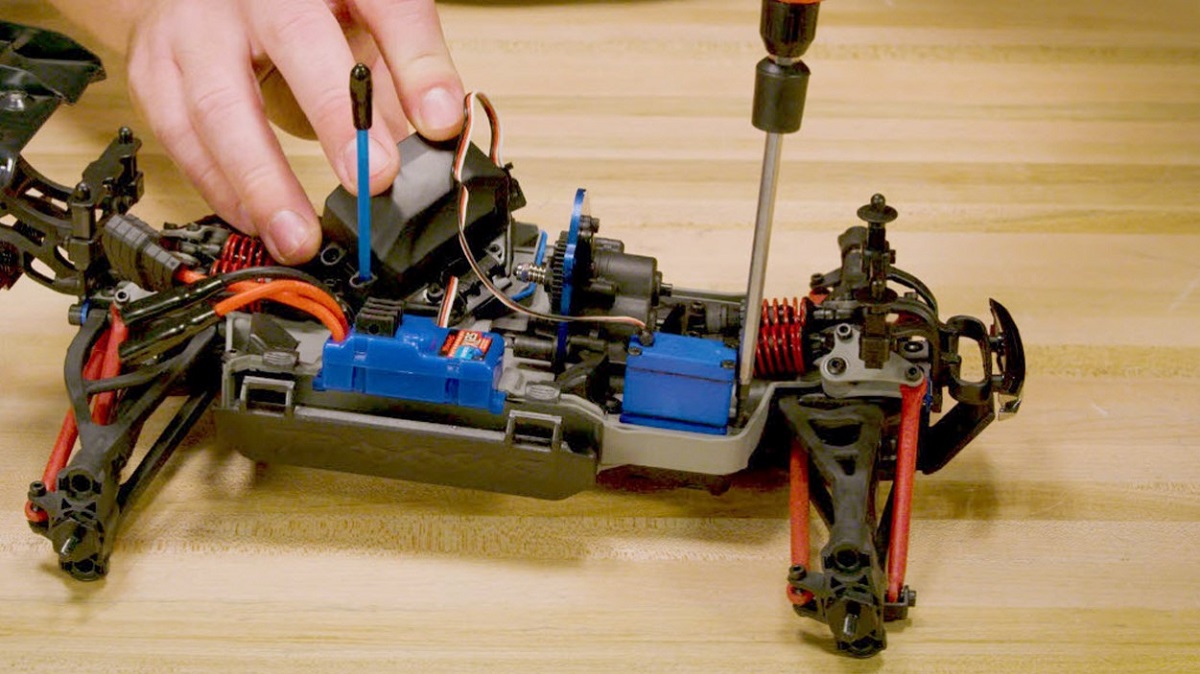 Remove the servo guard
4) Flip the chassis over and remove the 3x6 mm buttonhead screw that secures the servo horn. Use the small flat-head screwdriver to pry the horn off of the servo and then lift the servo out of the chassis.
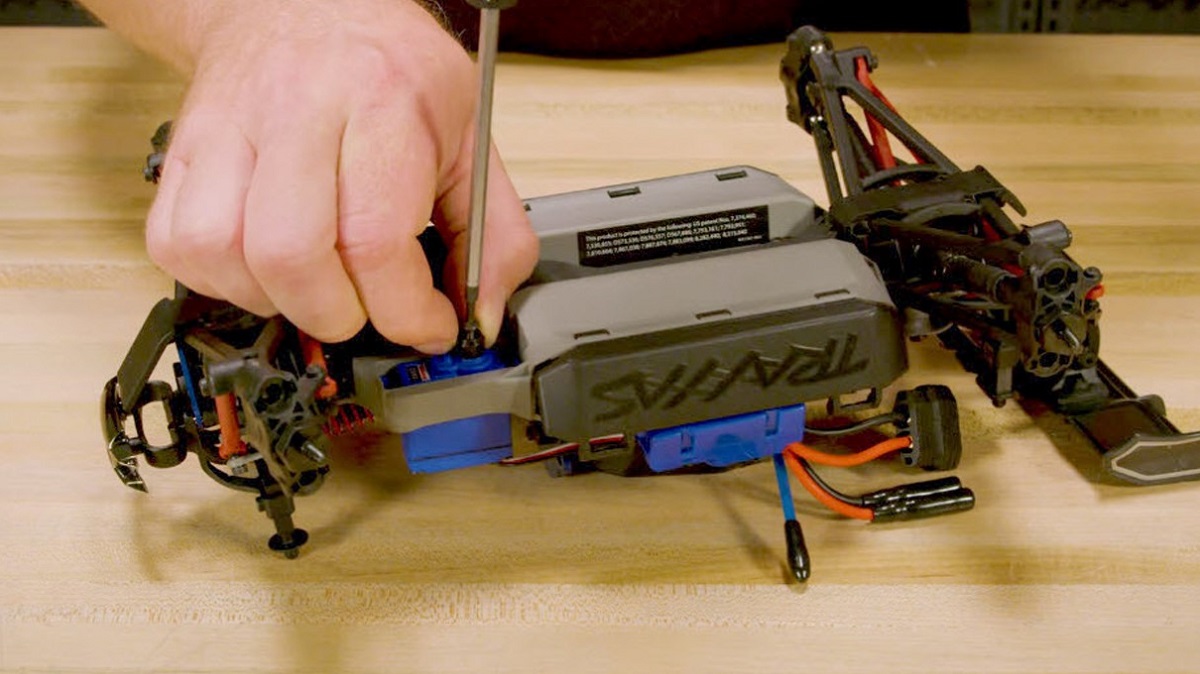 Unscrew the servo horn
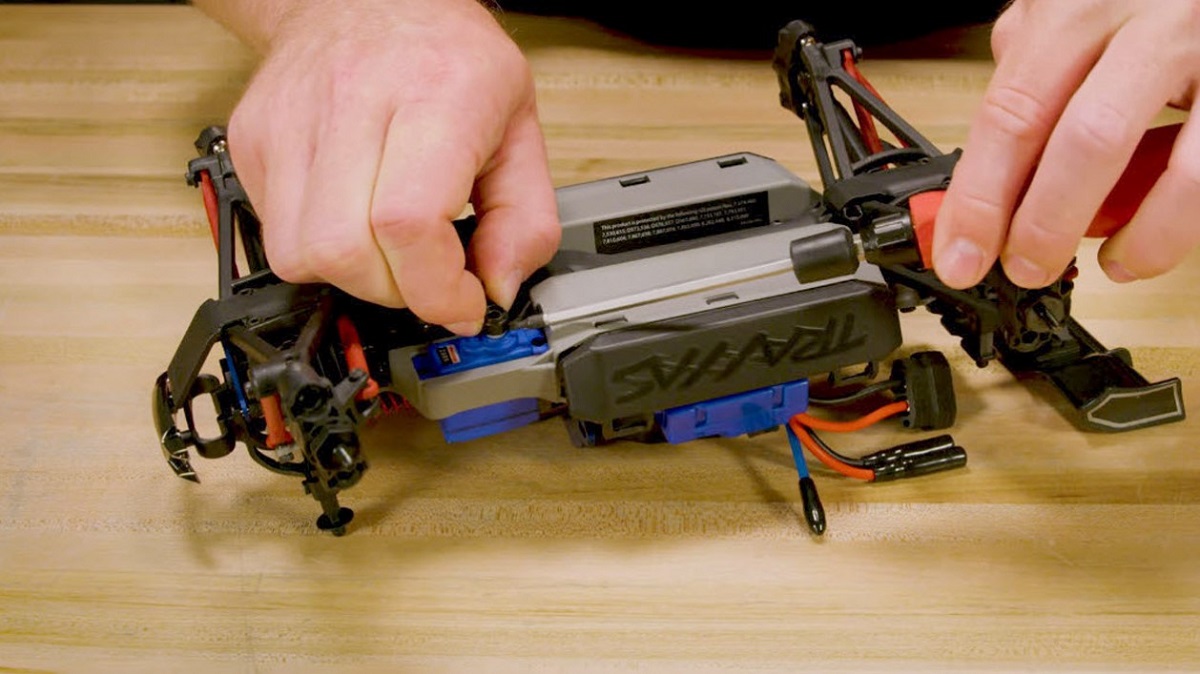 Remove the servo horn
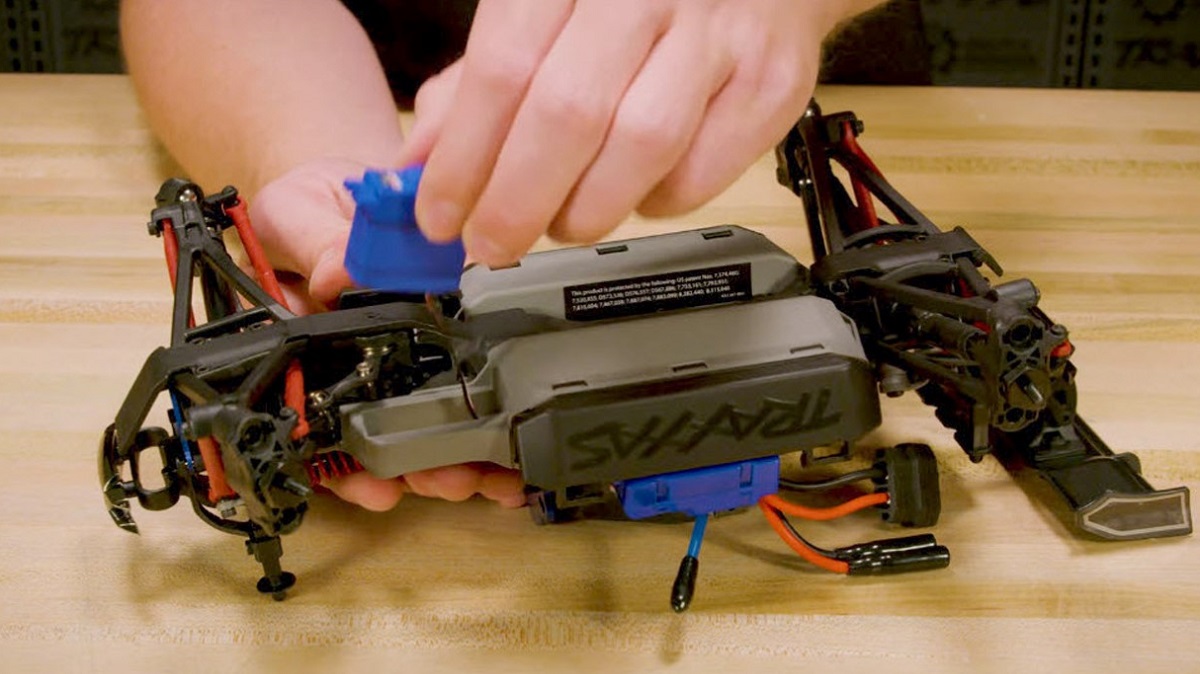 Remove the servo
5) To install the new servo, route the 2080R's wire through the chassis, and place the servo over the mounting holes. Make sure the servo’s output shaft is offset toward the rear of the chassis. Route the servo wire through the slot in the receiver box lid and then plug the servo into the channel-one slot (CH1). There are two CH1 slots in the receiver, you can use either one.
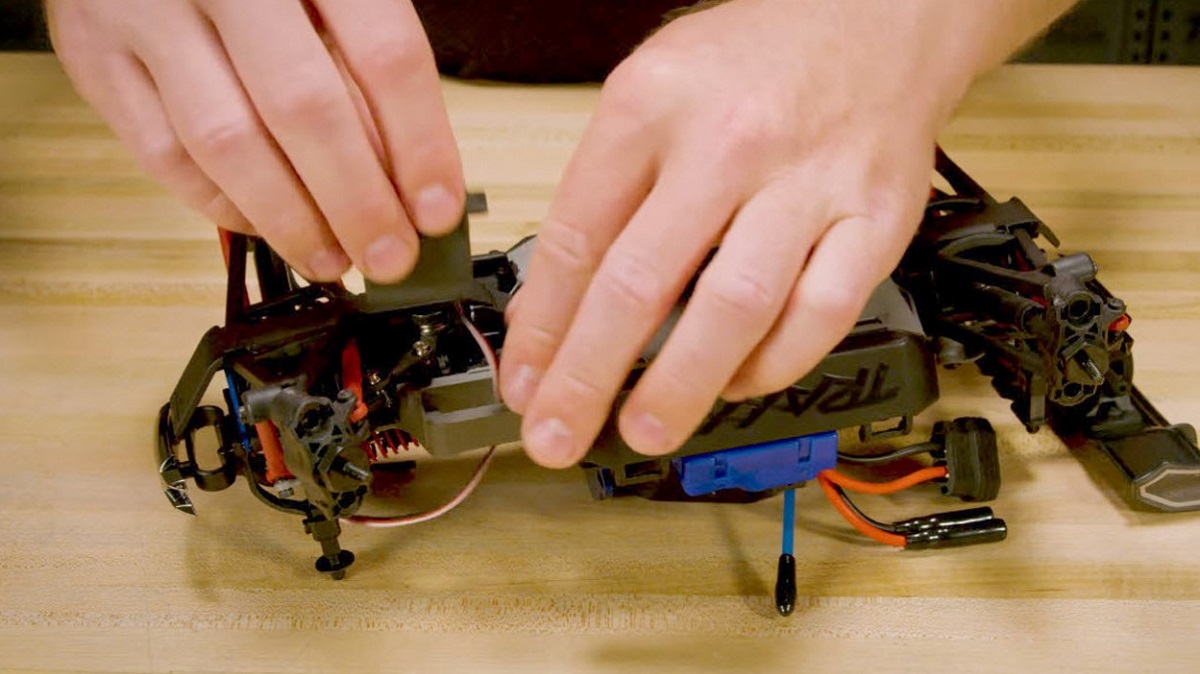 Route the wires
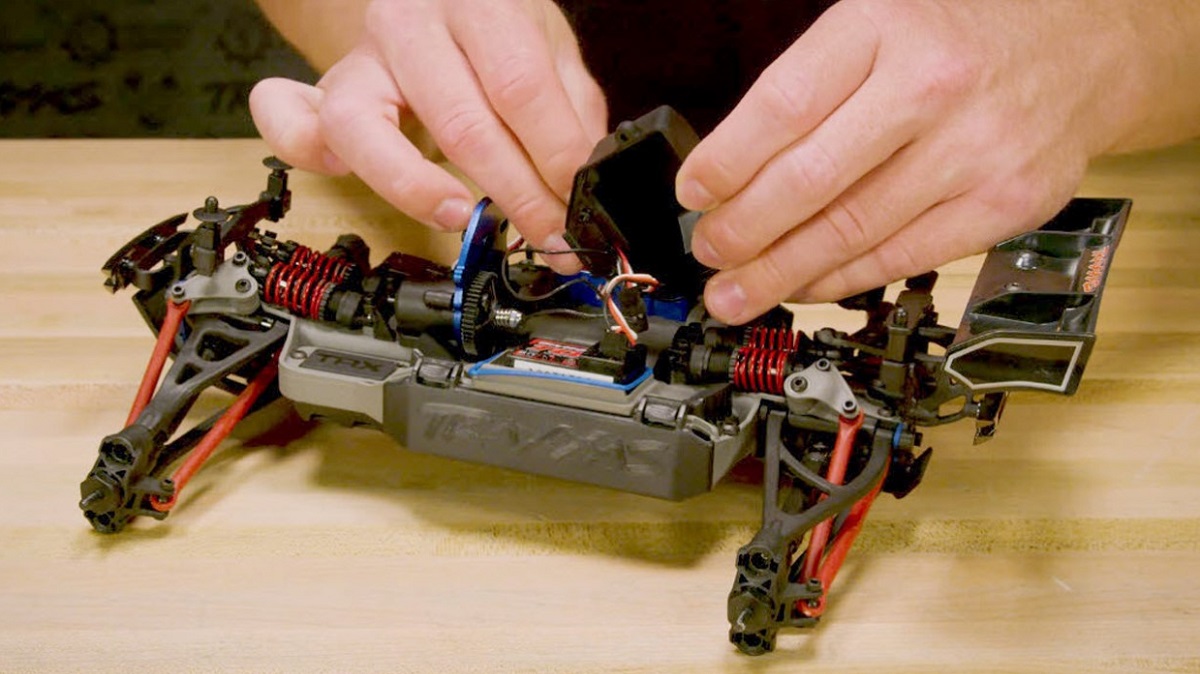 Route the wires
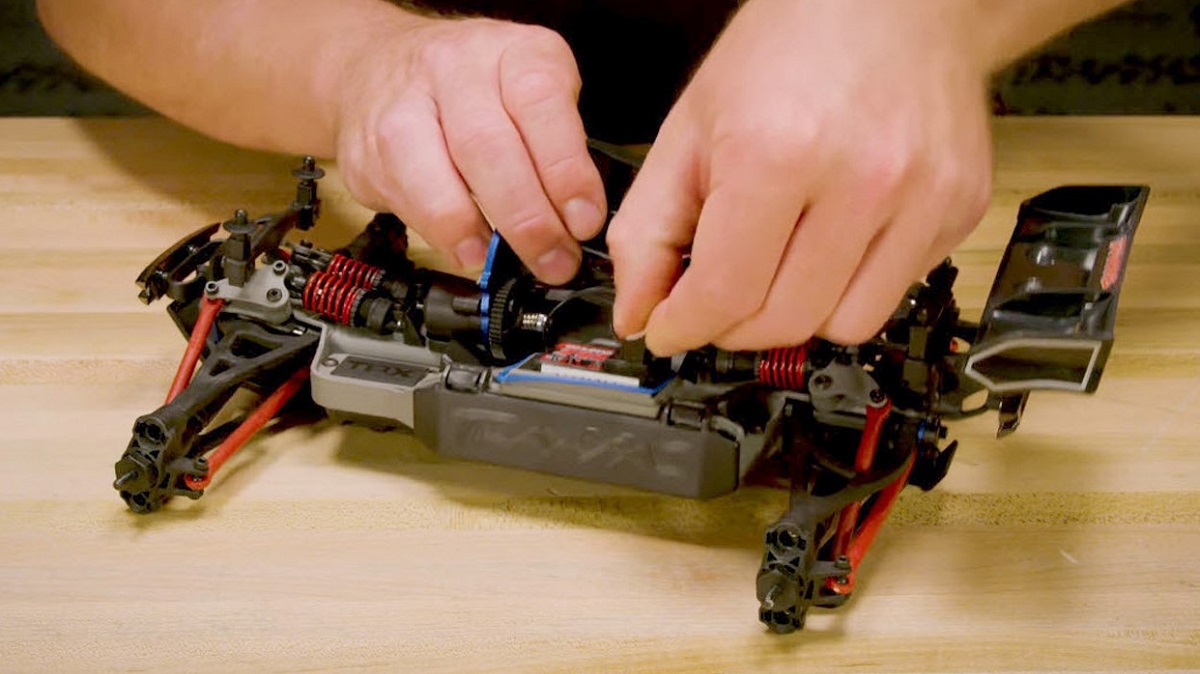 Plug in the servo
6) Before installing the receiver box lid, make certain the blue O-ring is properly aligned in the receiver box base. Attach the lid using two 2.5x8 mm cap screws. Be careful not to pinch any wires between the base and lid when reinstalling the lid. Make sure the speed control and servo wires are aligned over the foam seals, then reinstall the wire clamp. Arrange the wires neatly so they will not interfere with the motor.
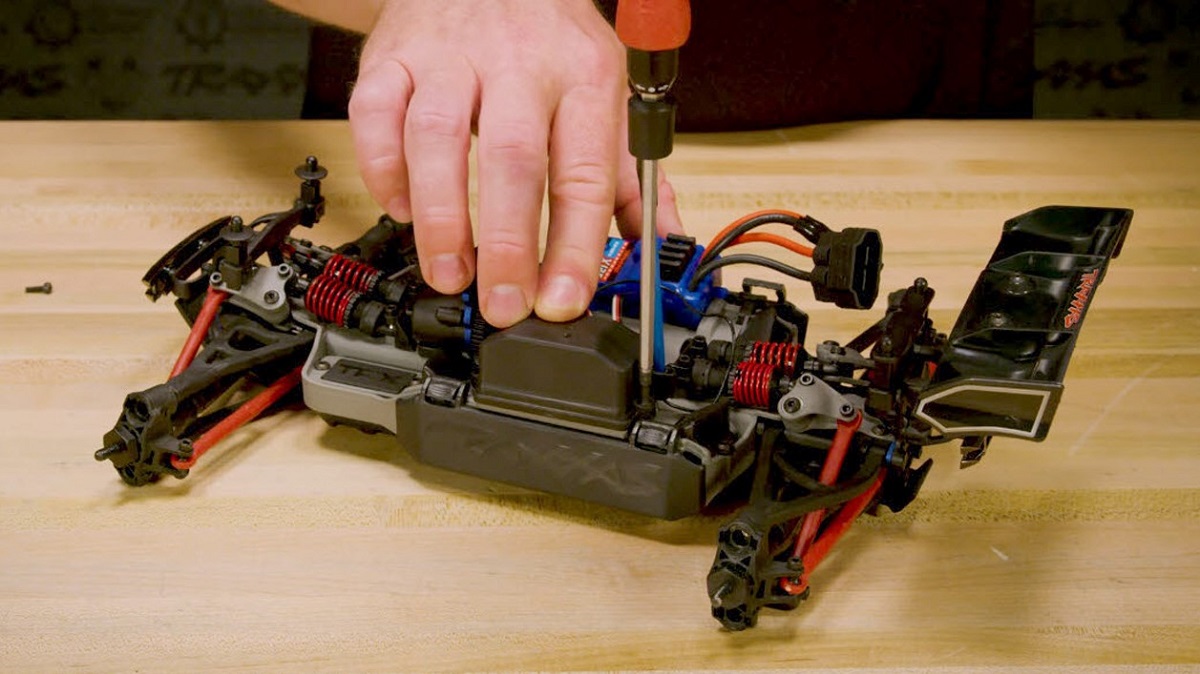 Align the O-ring
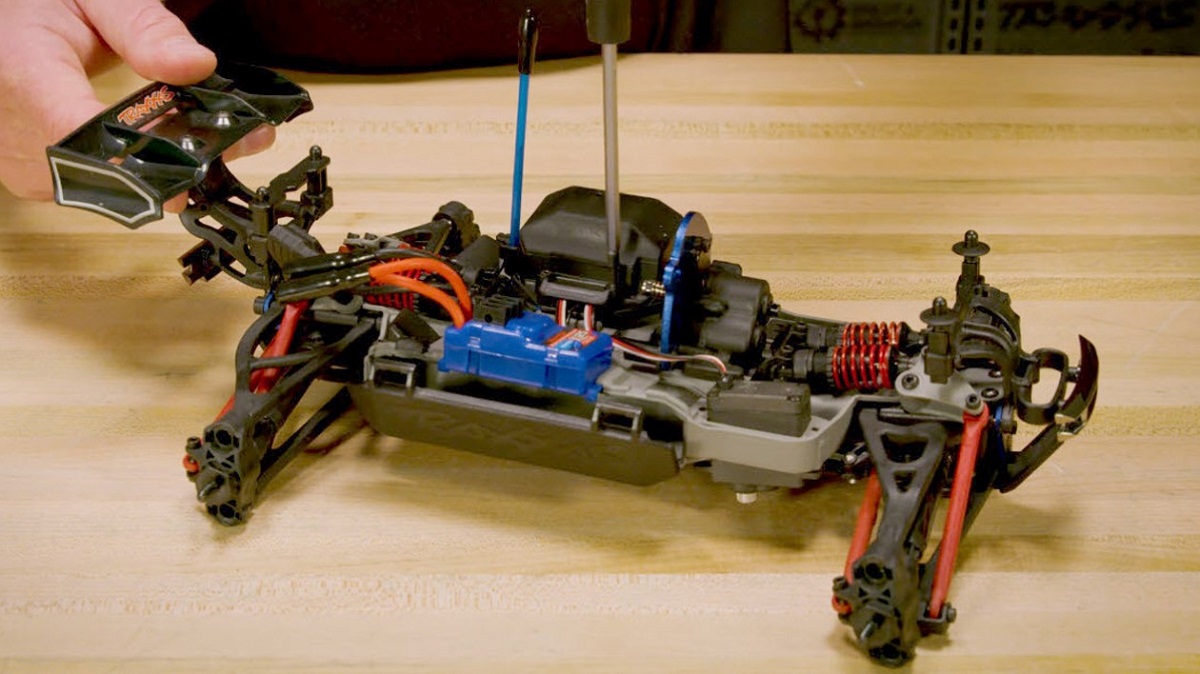 Reinstall the wire clamp
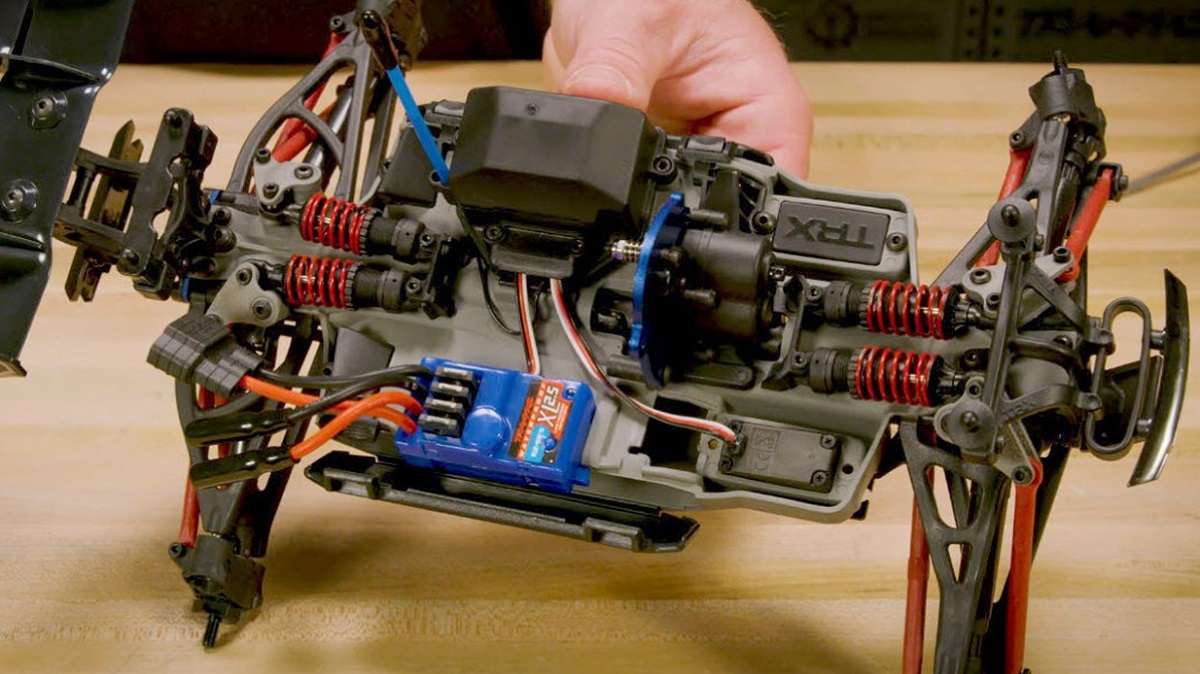 Arrange the wires
7) Reinstall the motor and the 3x10 mm cap screw that holds it in place, and set the gear mesh. For a detailed video on setting gear mesh, click here. Reinstall the gear cover and secure it with a 3x6 mm cap screw and then slide the speed control toward the motor until it is fully seated in its mounting slots. .
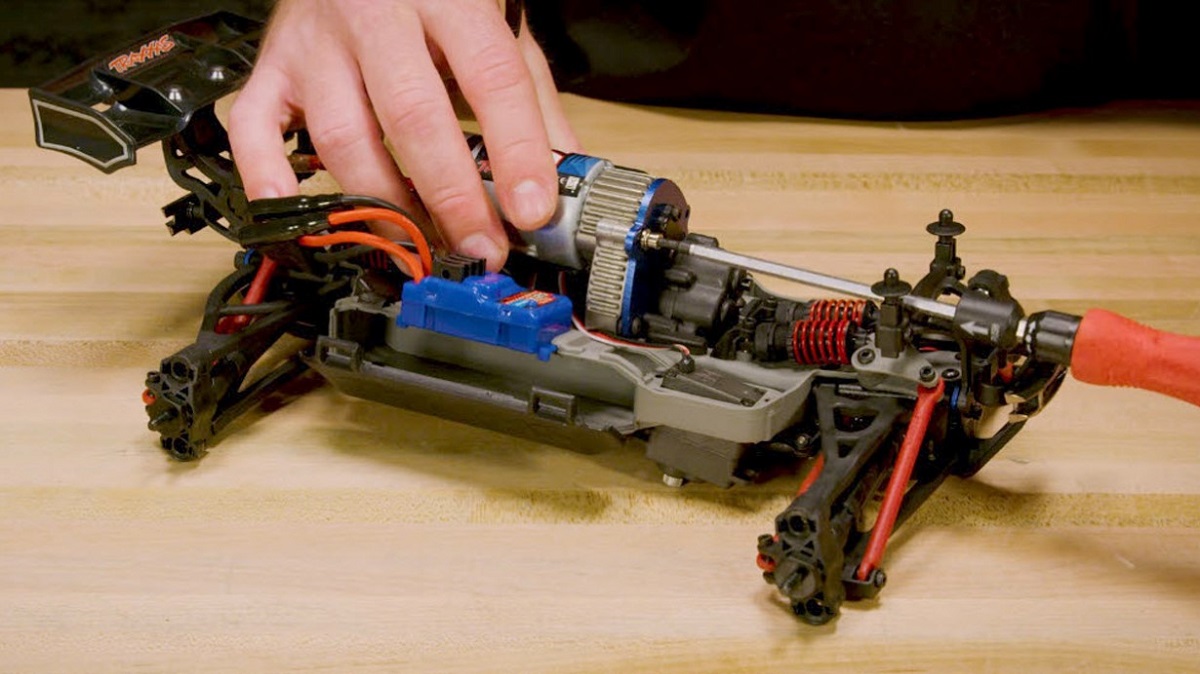 Reinstall the motor
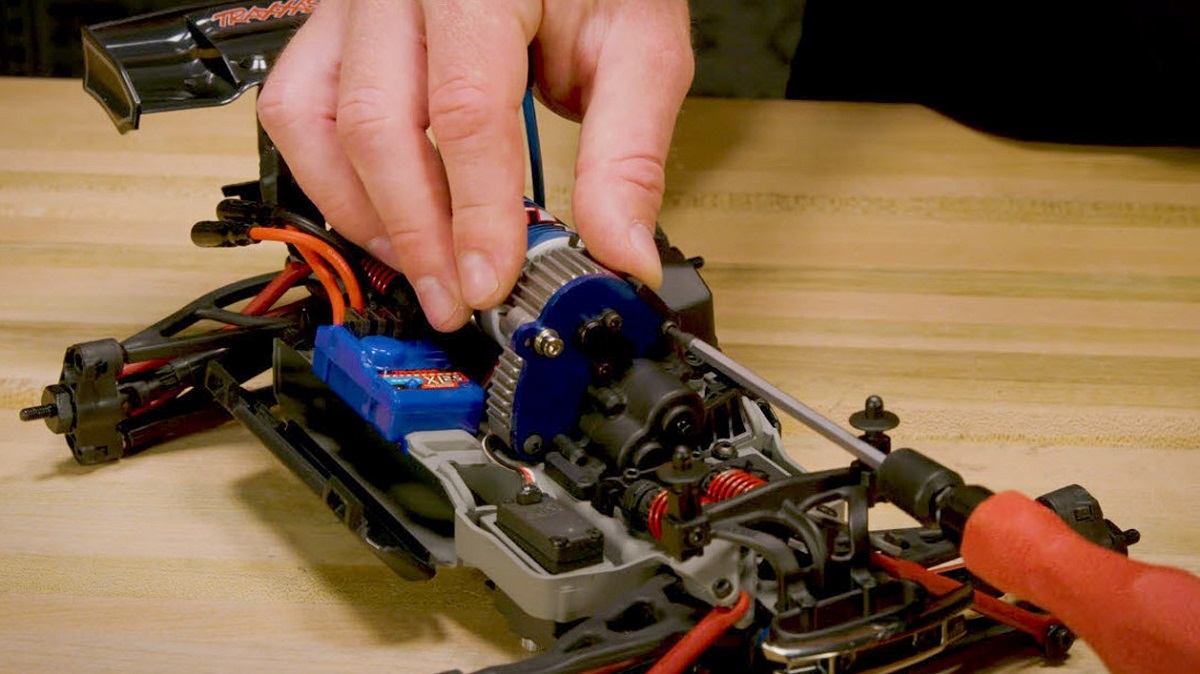 Reinstall the gear cover
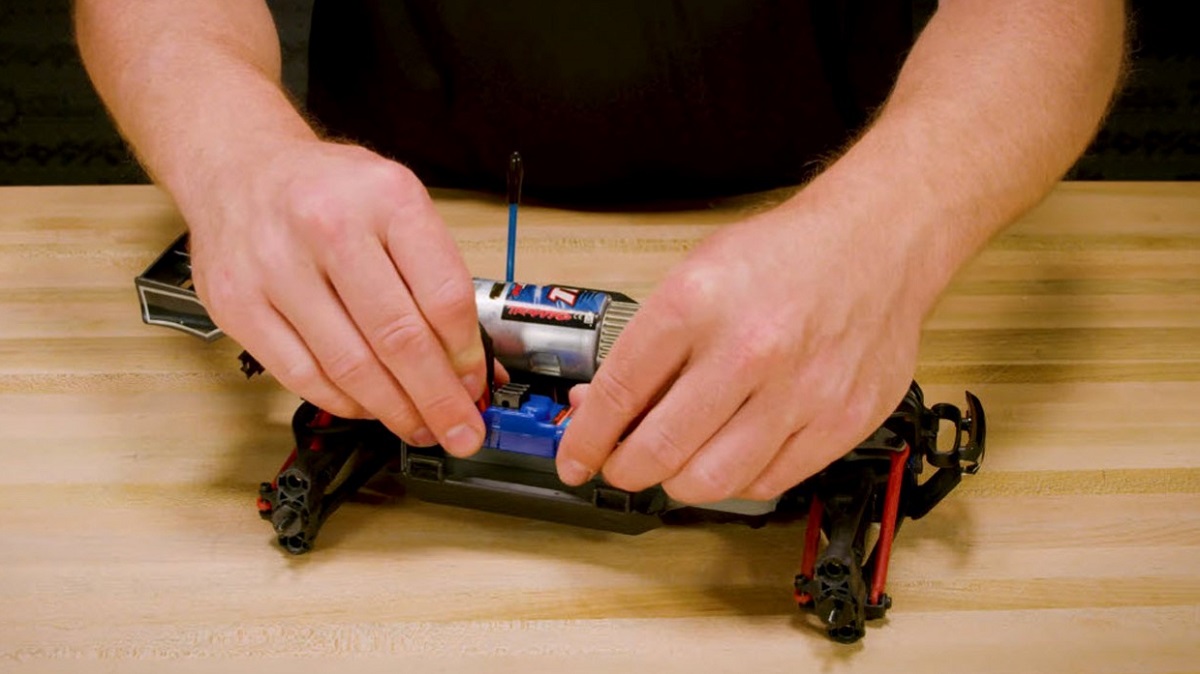 Reinstall the speed control
8) We’ll center the steering servo before completing the installation. Power up your transmitter and your vehicle, then rotate the steering trim knob to the 12 o’clock position (straight up). Turn the chassis over and attach the servo horn to the servo so it is perpendicular to the servo body. If it’s slightly off-center, that’s okay—centering can be fine-tuned later using the transmitter’s steering trim knob. Hold the servo horn firmly as you reinstall the 3x6 mm servo horn screw. Do not overtighten, it only needs to be snug against the servo horn.
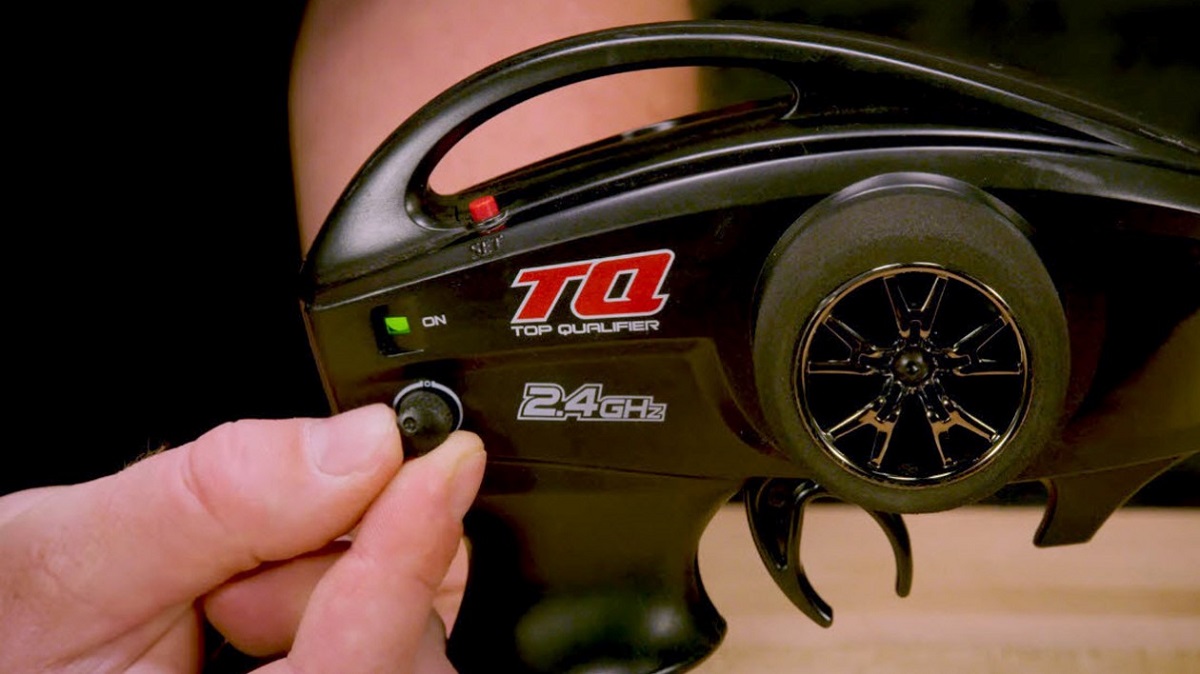 Center the steering trim
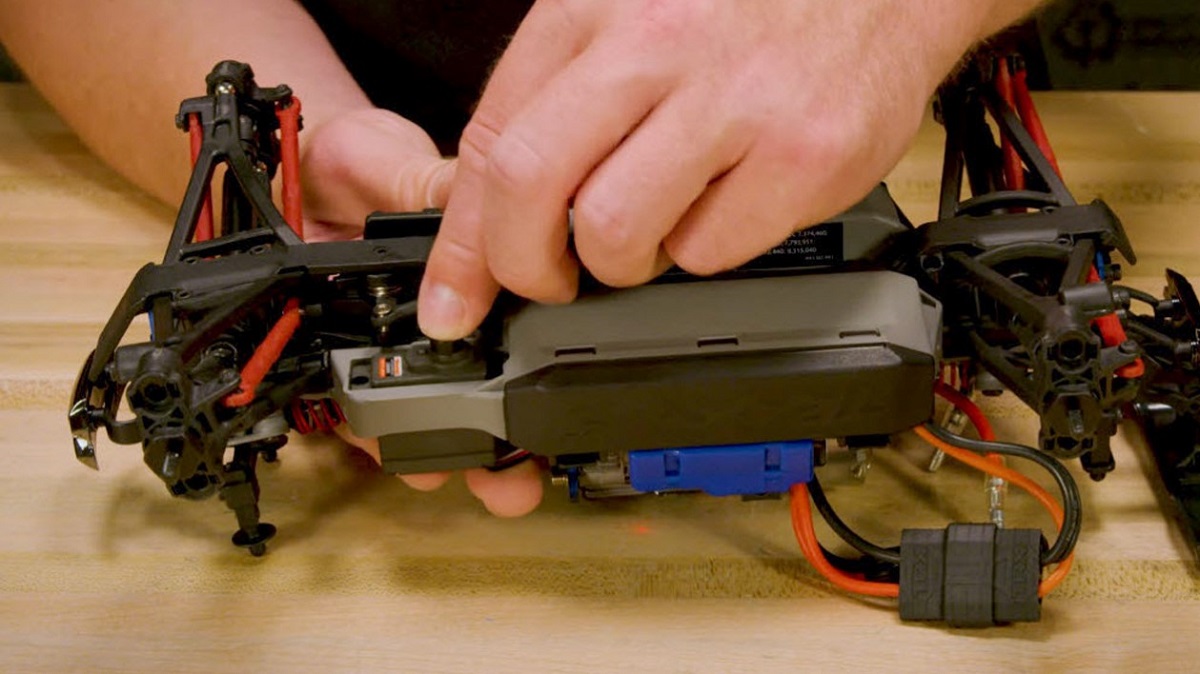 Attach the servo horn
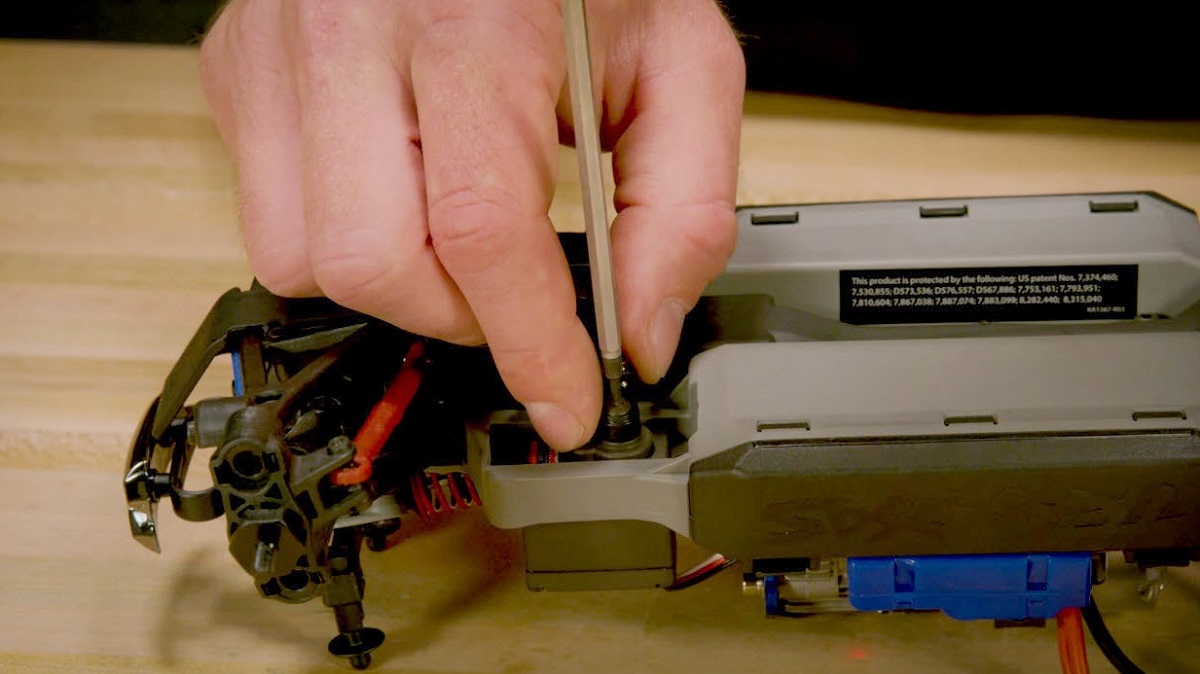 Tighten the screw
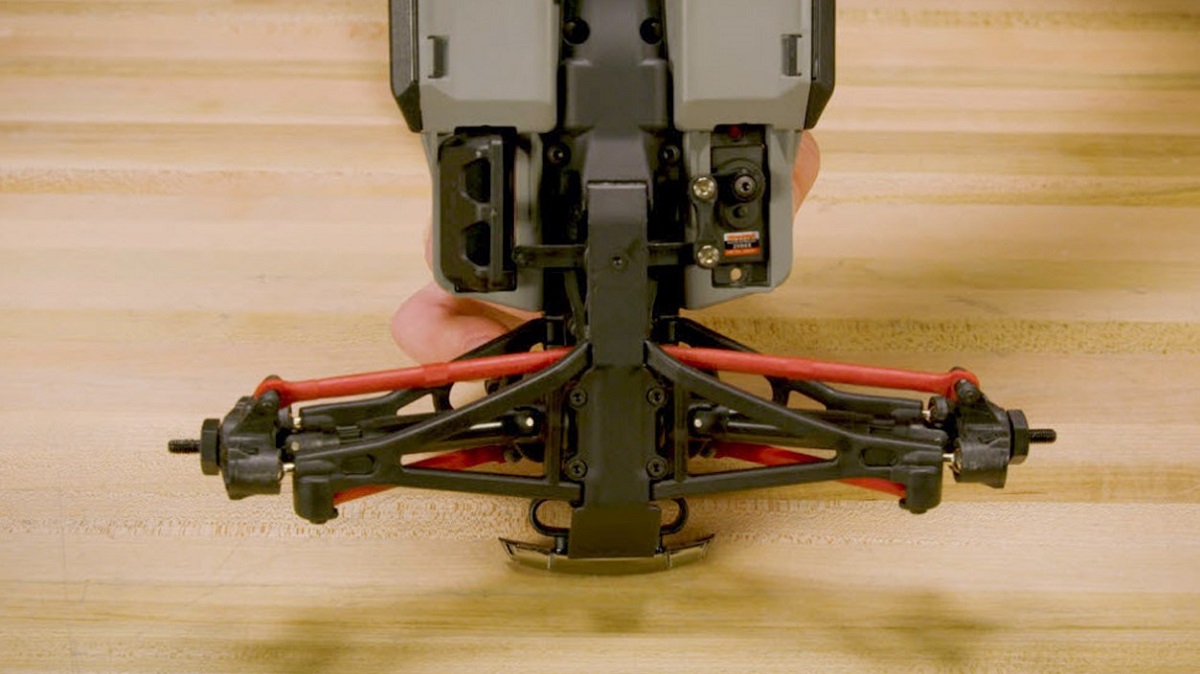 Here’s how your servo installation should look
10) Place the servo guard over the steering servo on the underside of the chassis. Secure the servo and servo guard with two 3x12 mm buttonhead screws
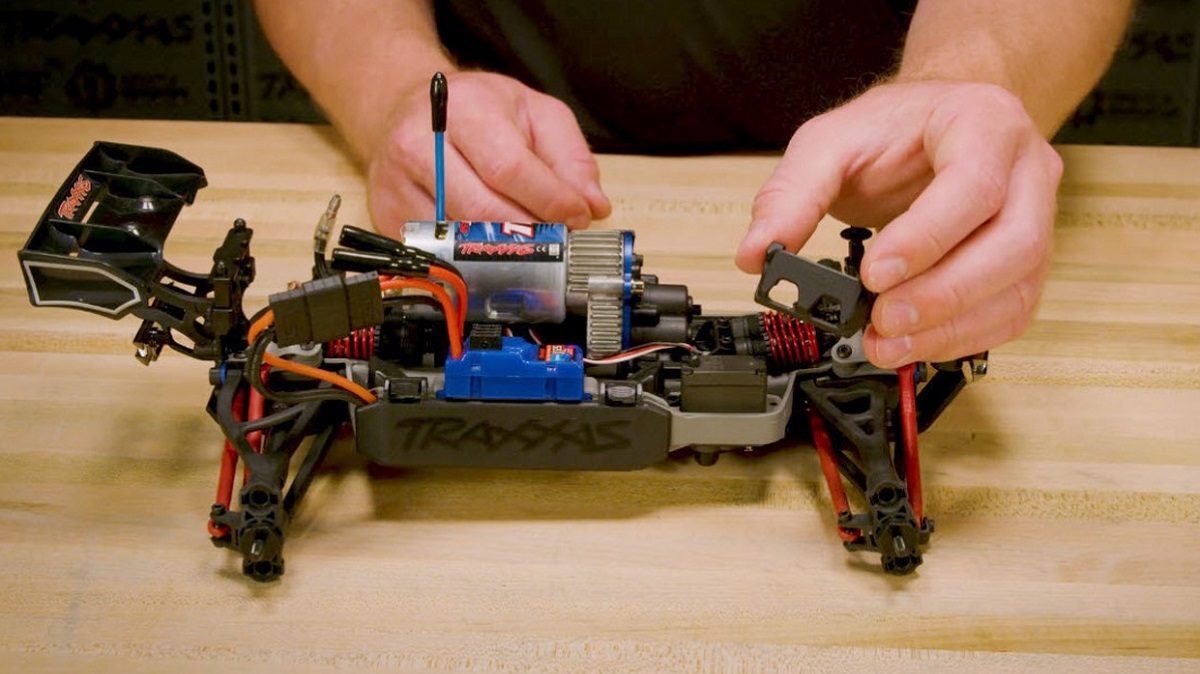 Replace the servo guard
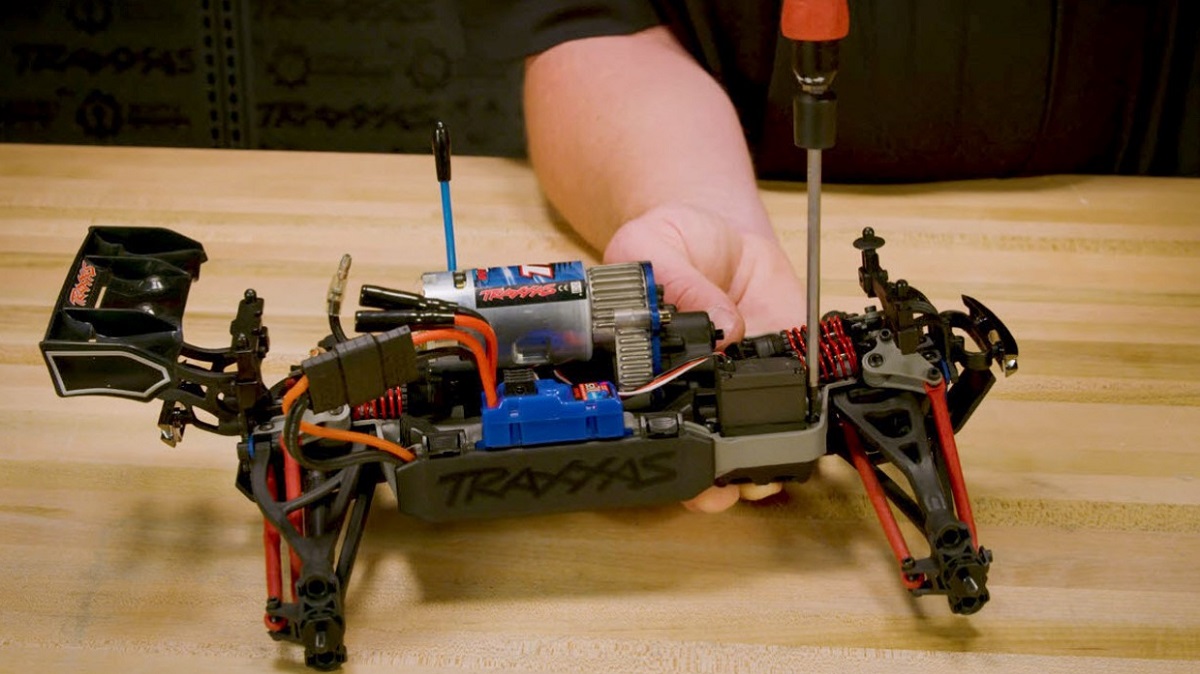 Secure the servo and guard
11) Power up the transmitter and model and confirm the servo operates properly. If needed, fine-tune the steering system’s neutral position using the transmitter’s steering trim knob. Reattach the motor wires, red to red and black to black. Press the plug halves together firmly to make sure they are fully engaged. Reinstall the body and wheels, and your Traxxas 1/16 scale model is ready to hit the dirt with improved steering strength and precision.
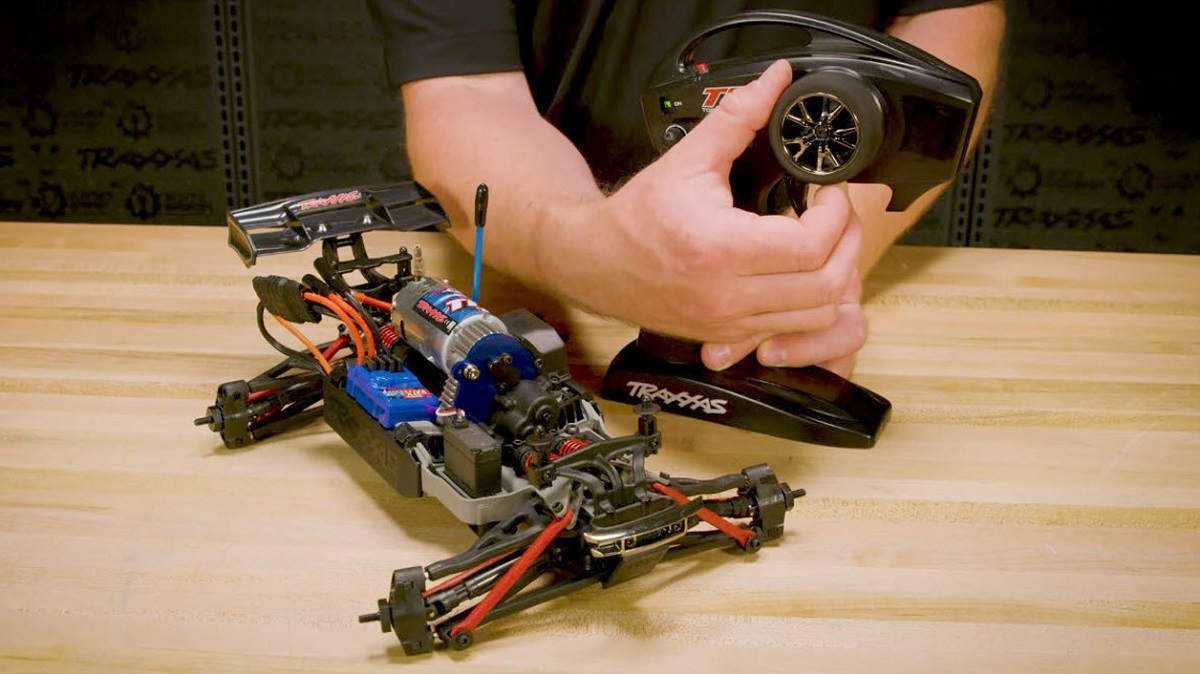 Test the steering
 Reattach motor wires
 Reinstall body and wheels
For more helpful Traxxas how-to videos, be sure visit the Traxxas Support channel, Like, and subscribe. Click here to go to the channel now.


 Canadian Dollar (CAD)
 Euro (EUR)
