
 Canadian Dollar (CAD)
 Euro (EUR)
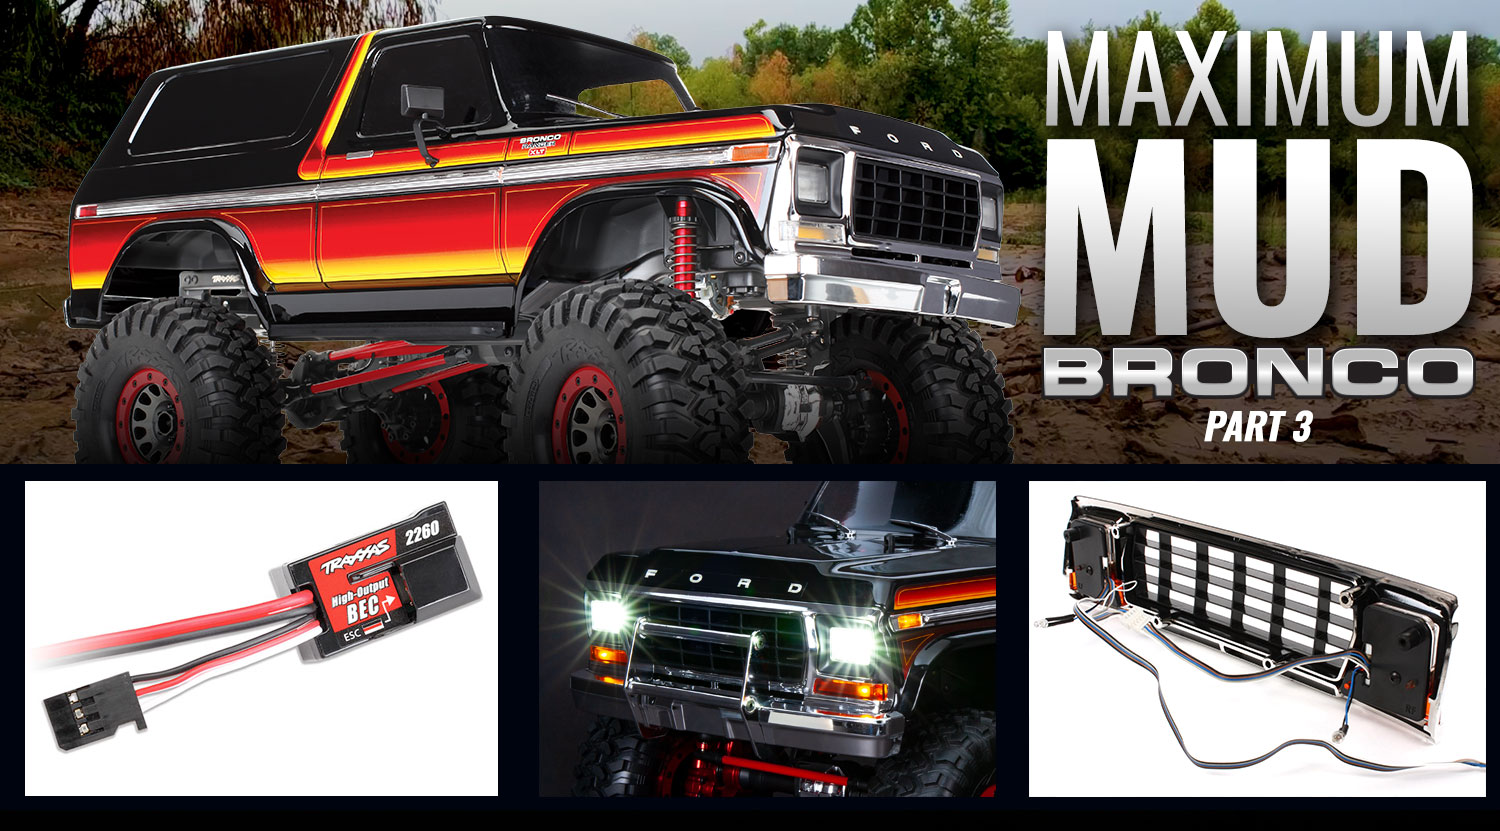
Part 3: Adding LED Lighting

View the Full Line of Bronco Accessories
The 2262 High-Voltage BEC kit includes the 2260 BEC plus the required receiver box lid and new seals. Installation is pretty straight forward since Traxxas includes all the required parts in the kit. For a detailed look at installing the High-Voltage BEC kit, refer back to part 3 of our Ultimate Trail Truck build.
 High-Voltage BEC kit (2262)
 High-Voltage BEC (2260)
 The 8035 light kit includes the required LED lighting module. Traxxas also offers the kit minus the module (8036) if you’ve already got a module installed in your truck as part of another accessory package. Mounting the module is easy since the bosses are already on the chassis.
 Bronco LED light kit
 Power module installed
 Connected Y harness
The lighting module and the High Output BEC both need to plug into the speed control. A Y-harness is included with the BEC just for this reason. Be sure you're plugging into the high voltage wires from the ESC and not the fan output. The headlights and front marker lights install from behind the grille.
 Grille with LED installed
 Grille wiring
The LEDs plug into a distribution block that attaches inside the body using a mount that captures the plugs. Plug the LED’s into the block first, then install the block in the mount, then install the block into the body. Use the zip-tie loops to keep everything tidy. Now we're ready for night driving. The LEDs switch on and off with the speed control as long as they are plugged into the power module.
 Distribution block
 Installed distribution block
That's the end of our Mud Bronco Build. If you're just joining us, check out part 1 and part 2 of the series to see how we got here. Now it's time to grab some batteries and head out for a little mud boggin'. Let's see how well the new Velineon brushless power system can sling some mud.
If you've ever thought about switching out your Bronco body, be sure to check out our Ultimate Trail Truck build to see just how good our TRX-4 Defender looks all decked out.
Get your wrench on, and show us how your lifted TRX-4 turned out! Post your pics to Facebook, Instagram or Twitter with #MyTRX4Build, and we’ll be sure to share some of our favorites.