
 Canadian Dollar (CAD)
 Euro (EUR)
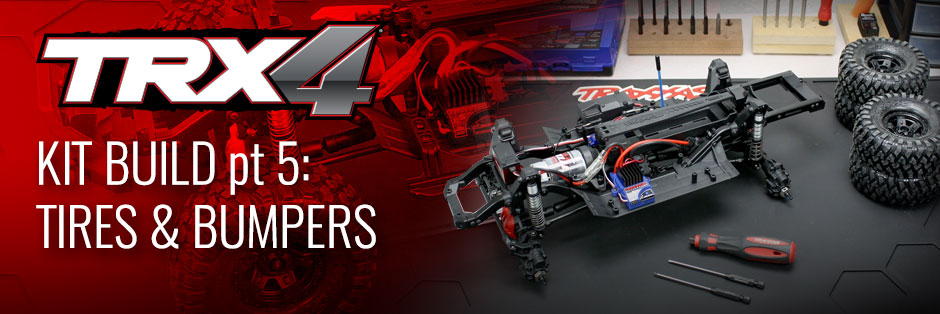
Mounting the Tires and Installing Bumpers
The TRX-4 Sport build is in the home stretch! Last time we installed the axles into the chassis. In this round we're mounting the tires and installing the bumpers, body mounts, and rock sliders. If you're just joining us, you can catch up by reading Part 1 or Part 2, Part 3 and Part 4 to see how we got here. If you’d like to follow along with the manual, you can view it as a PDF here.

The Sport kit includes Canyon Trail tires with foam inserts on one-piece wheels, which we’ll glue to the rims. To ensure a strong bond, we’ll first clean the tire’s mounting area or “bead” before gluing to remove any mold release from the manufacturing process. The powdery stuff on the tire is mold release, which prevents the soft rubber from sticking to the mold when the tire is manufactured. To remove the tire from the wheel, hold the tire firmly and push the wheel out with your thumb.
 We'll need to clean off the mold release
 Remove the tire from the wheel
The tinted section is the mounting area, or “bead.” The bead needs to be clean to ensure the strongest glue bond. Wash and scrub the tires to remove any residue. Once the tires are dry, it's time to start gluing.
 Clean the tire bead
 Wash the tires
 Time to start gluing
The TRX-4 Sport applies a lot of torque to climb steep grades and claw over obstacles, and that pulls hard on the tires. High-strength cyanoacrylate (CA) glue is a must, and Traxxas Ultra Premium Tire Glue 6468 is the best. This glue was originally developed for the Traxxas XO-1 to prevent tire blow-outs at 100+mph. Stuff the inserts back into the tires if you removed them, and remount the tires on the rims. Important: the tires are directional, so make sure you put them together as a pair of lefts and a pair of rights. The direction of rotation is molded into the sidewalls.

Use Traxxas Tire Glue for the best bond

Ensure the rotation arrow faces forward
Think of the tire as a clock face, and apply glue at 12, 3, 6, and 9 o’clock. Pull back the tire’s sidewall to expose the bead, put a drop of glue in the gap, and repeat for each position. Repeat for the back side of the rim, and the remaining tires. If you’d prefer a non-permanent tire installation, get a set of Method 105 beadlock wheels. These wheels clamp the tires using aluminum rings, which you can get in a variety of colors.
 Glue the tires
 Method 105 wheels and rings
 Beadlock wheels and tires
There's nothing tricky with the body mounts, rock sliders, and bumpers. Just follow the manual and they'll plug right in. Once you're finished, it's time to mount the tires.
 Install the mounts, sliders, and bumpers
 Mount the tires and you're almost finished
That's all for part 5 of our TRX-4 Kit build. Coming Up in Part 6: painting the body and hitting the trail! Missed a step? Click on the links to go back to Part 1, Part 2, Part 3, or Part4.