The TRX-4 Sport build continues! Just to recap, so far we have assembled the chassis and axles and installed the electronics. Next we are going to fill the shocks with oil and install the axles onto the chassis. If you're just joining us, you can catch up by reading
Part 1 or
Part 2 and
Part 3 to see how we got here. If you’d like to follow along with the manual, you can view it as a PDF
here.
We're switching over to the Traxxas
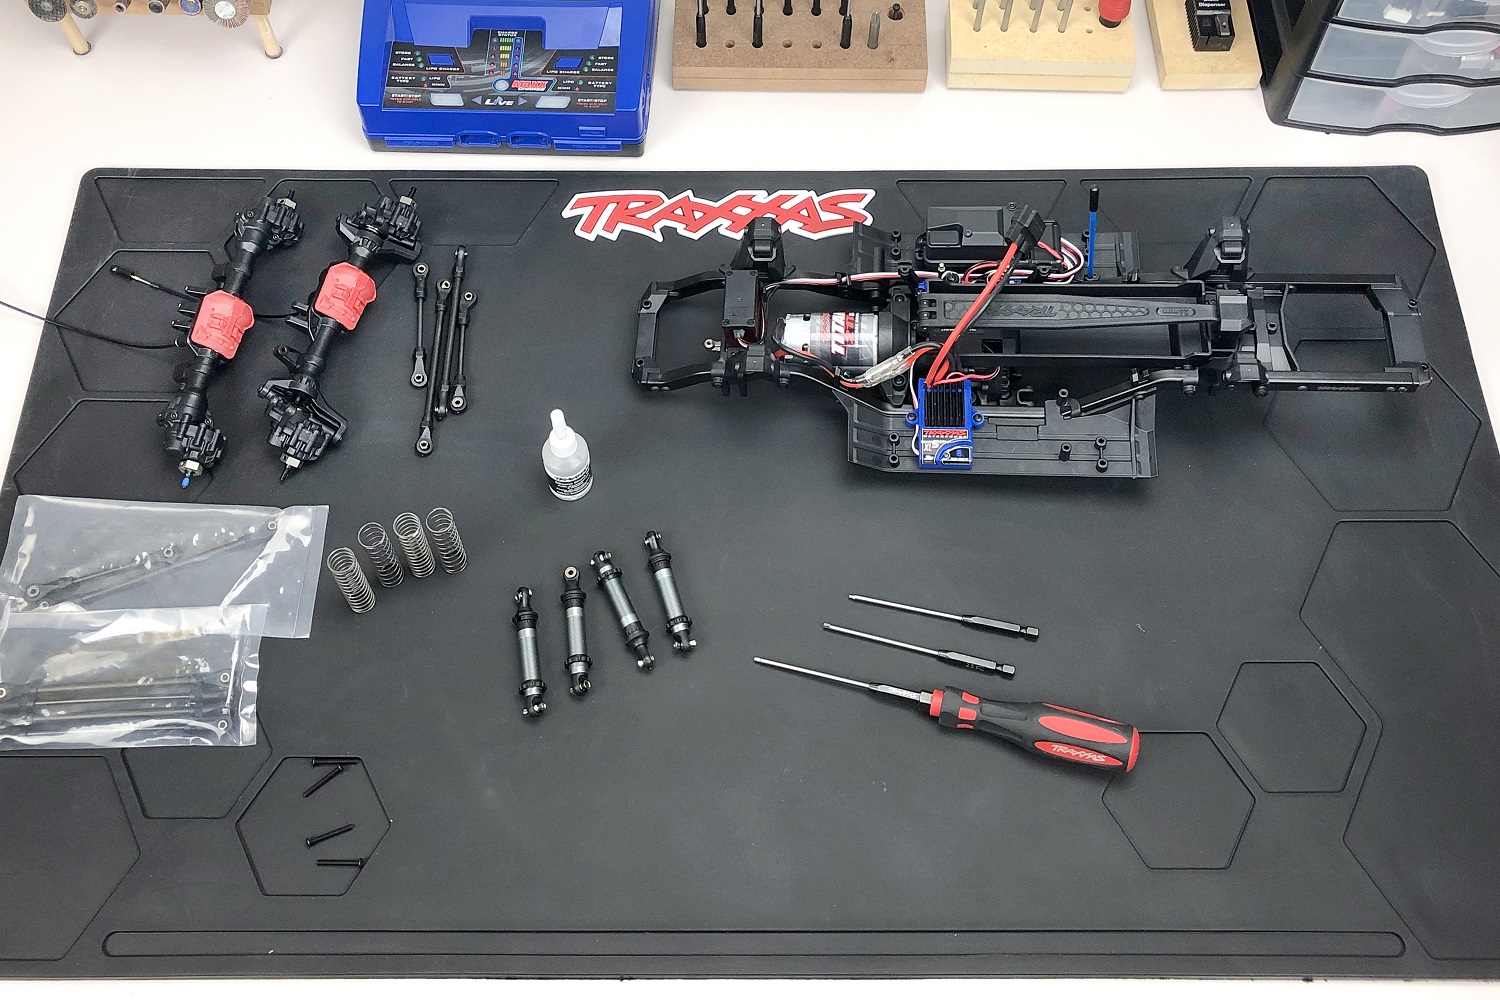
Pit Mat for this part of the build. We'll need plenty of wrenching space and the mat's chemical resistant construction will protect the workbench from any oil spills that might occur. It also looks great and provides plenty of compartments to stop out screws from rolling away.
The GTS shocks come fully assembled from the factory, so all you have to do is fill them with oil. We’ll add one step to what’s in the manual and pre-lube the seals. Before filling, unscrew the lower cap, and extend the shock shaft so you can pre-lube the seals. Put a drop of oil on the seals, then reassemble the shock and fill per the instructions. When installing the springs, take note of the spring color markings. The springs with white marks fit on the front shocks while the orange fit the rear. When setting the preload, notice how three shocks have 5 mm of exposed threads while the left front gets 9 mm.
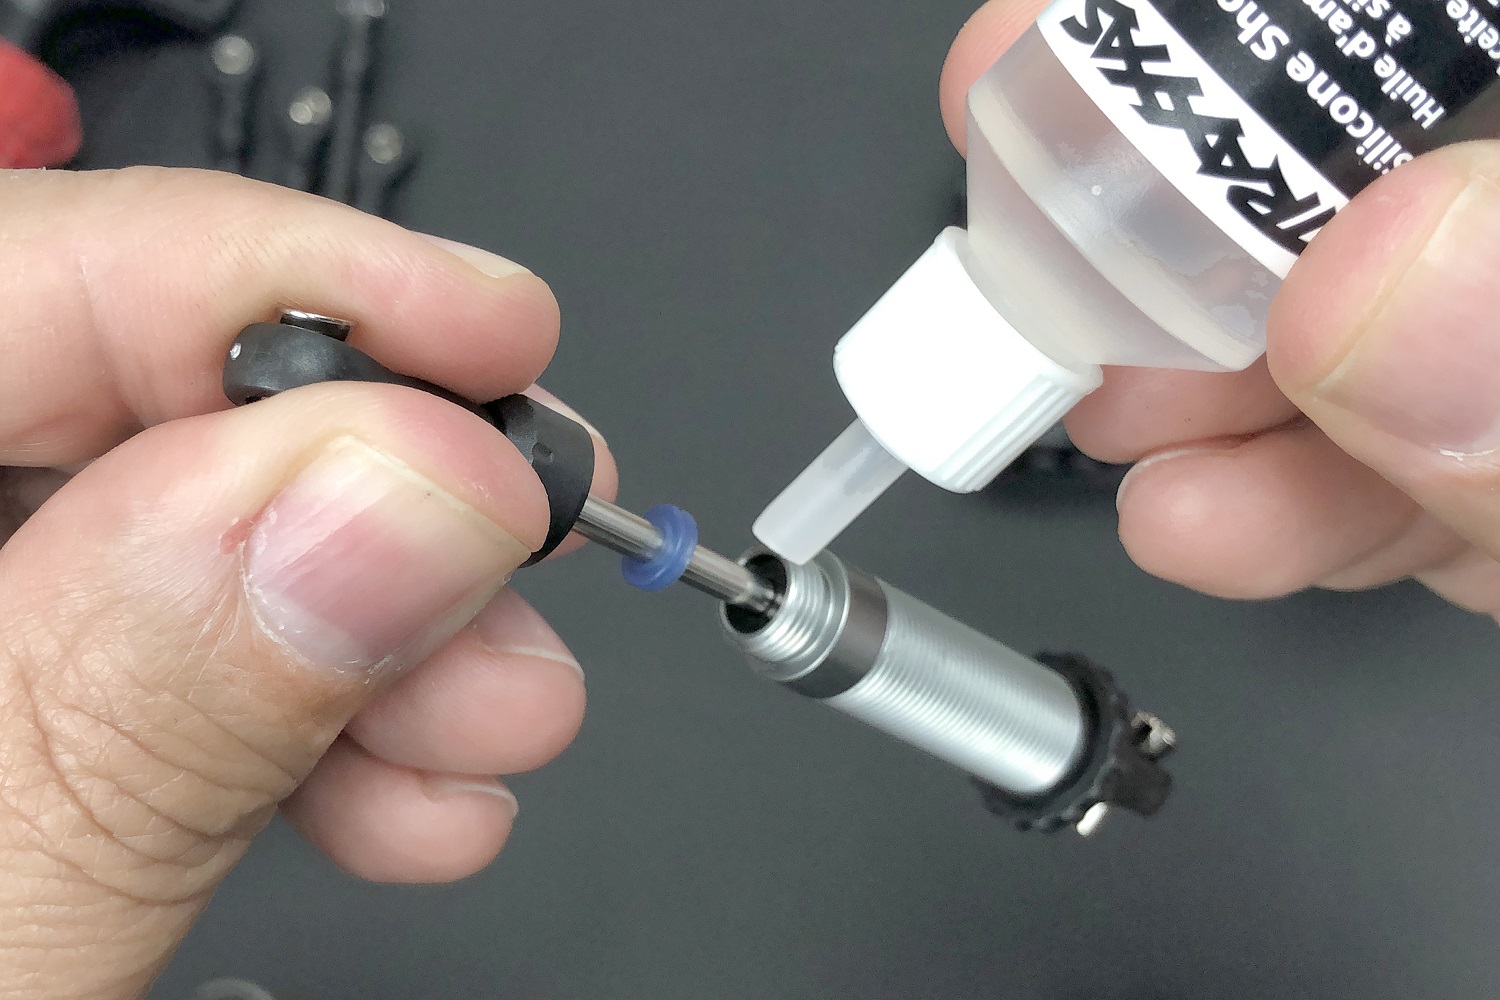 Pre-lube the seals
 Springs are color-coded
 Adjust the pre-load settings
Now we move to link installation. Two things of note here: the drag link installs with the rod ends offset away from the axle, and we’re only installing one screw—the other side of the axle will get a longer screw that secures the drag link and the steering link at the same time. Use the manual's full-size illustrations to confirm that you're installing the correct link.
 Install the drag link
 Confirm you have the correct link
The front upper link and steering link differ in length by only 3 mm and look almost identical. The steering link is the one with the offset balls. Install the Panhard bar with the angled rod end offset down. A single screw secures each lower link and shock to the axle. Install the shocks so the hollow ball’s long end faces the link.
 Examine the hollow balls
 Installing the Panhard bar
 The long end faces the link
As you’re grabbing 3x15 mm screws to install the links, keep an eye peeled for the one with a patch of thread-lock on it. Set this screw aside for connecting the steering link to the servo arm. The servo arm is metal, hence the thread lock. When installing the front axle, it’s easier to attach the steering link and Panhard bar first, then the upper and lower links, and the shocks last. When installing the rear axle, note that the upper links have angled rod ends, while the lowers have straight ends.
 Set this screw aside
 Installing the front axle
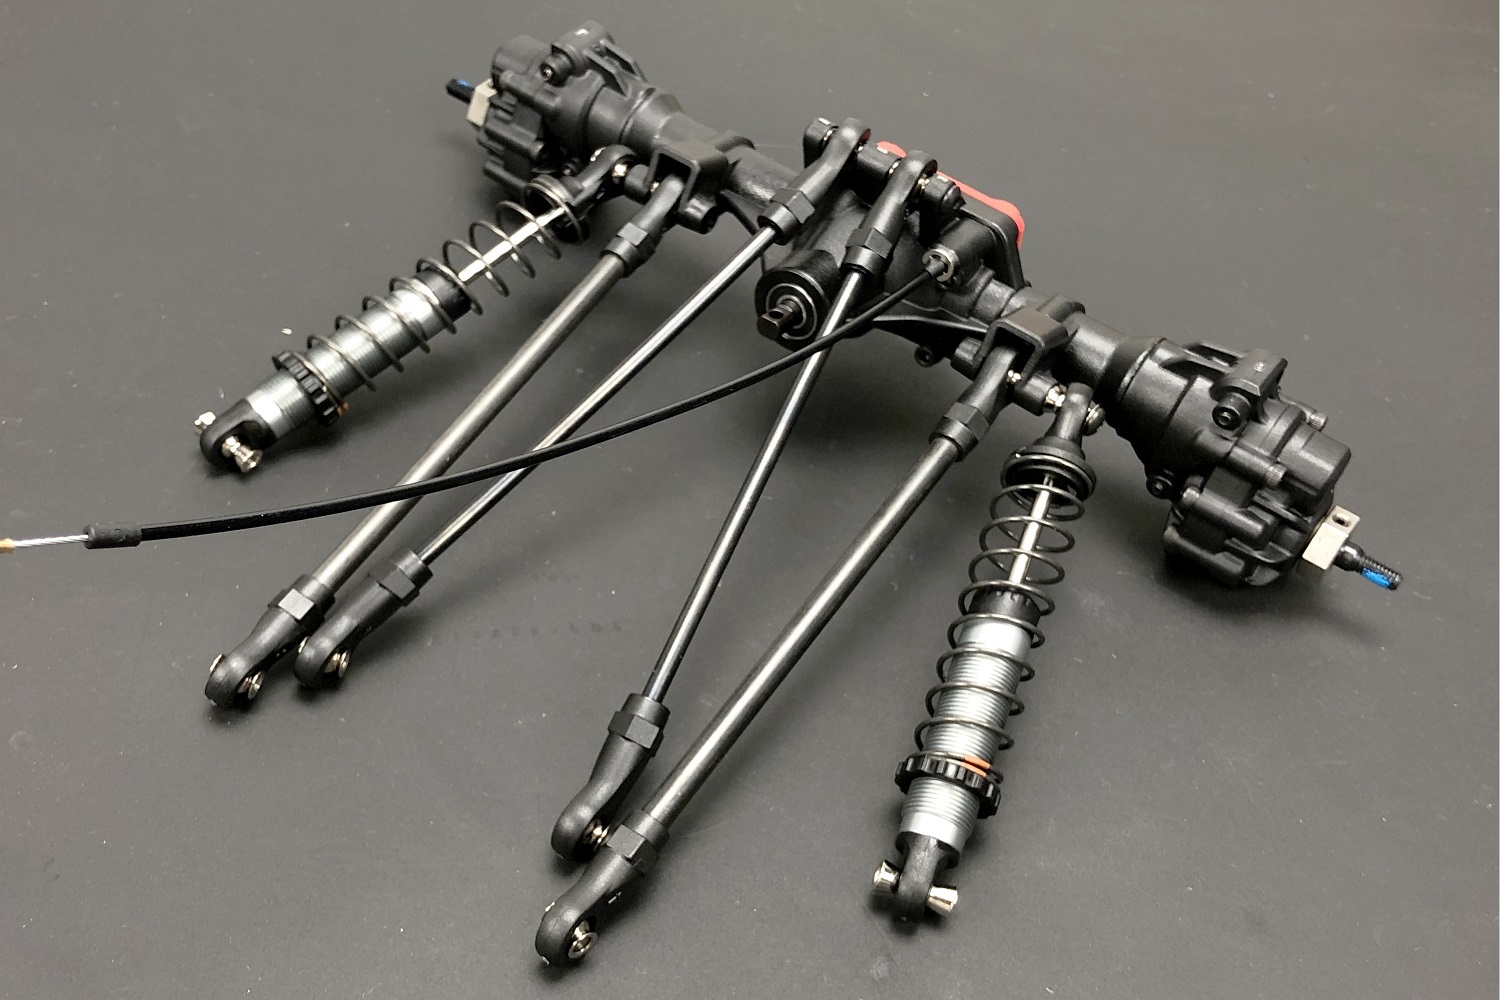 Installing the rear axle
 With the front and rear axles installed, it’s time to move onto the driveshafts.
The driveshafts have steel universal joints at each end, with sleeves to retain the stock pins. When plugging the female driveshaft halves onto the male shaft, orient the halves so the screw pin holes line up. Note that the rear shaft (top) utilizes short and long half-shafts, while the front shaft (bottom) has equal-length halves.
 Driveshaft with sleeves
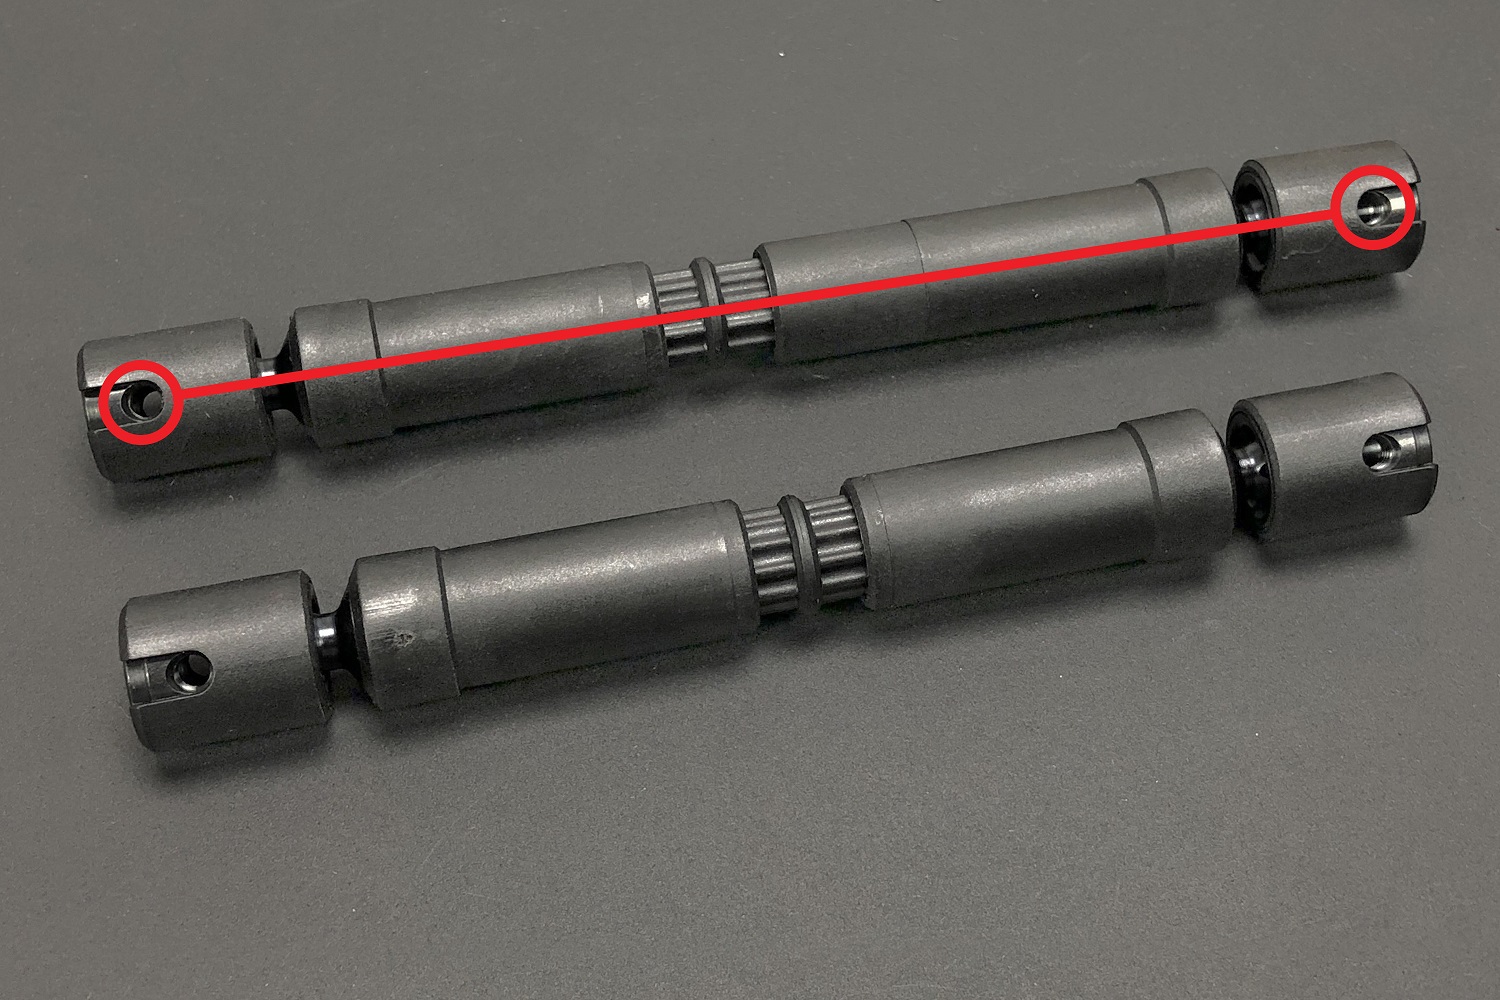 Align the half shafts
Compress the driveshafts fully and install them on the axles, then extend each shaft to slide over the transmission outputs to finish the job. For the final step, pass the axles’ T-lock cables up to the servos, and snap them onto the balls. Press each cable into its bracket and secure with the screws supplied in the T-Lock kit.
 Compress and install the driveshafts
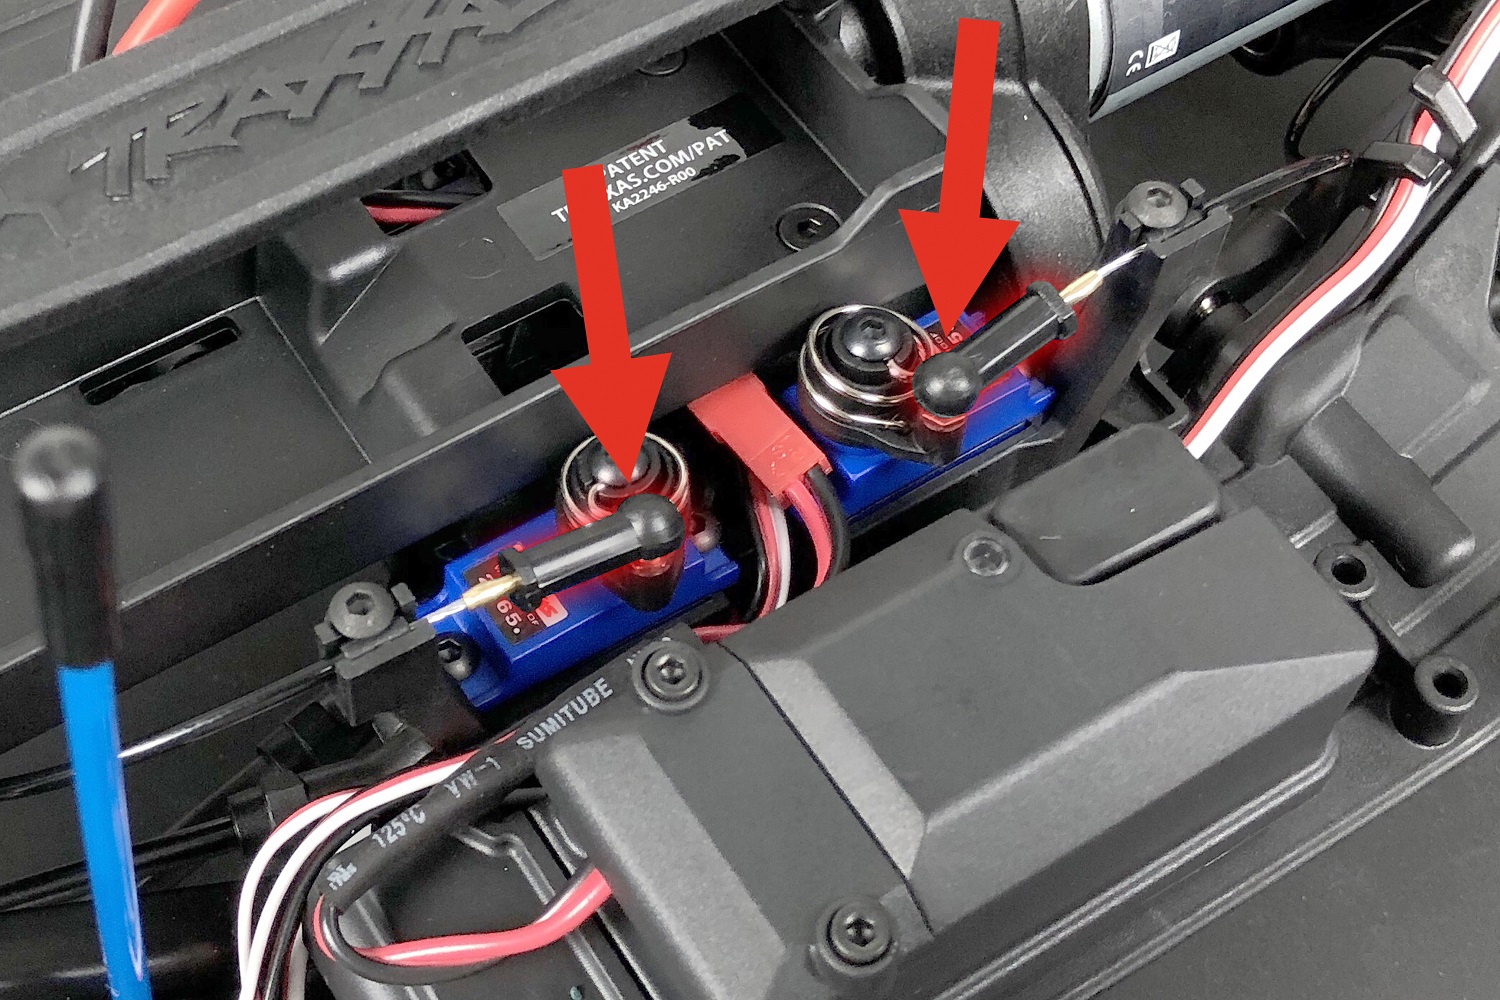 Snap the T-Lock cables onto the servos
 The kit is really starting to look like a truck now.
That's all for part 4 of our TRX-4 Kit build. Coming Up in Part 5: mounting the tires and painting the body! Missed a step? Click on the links to go back to Part 1, Part 2, or Part 3.
 Pre-lube the seals
 Springs are color-coded
 Adjust the pre-load settings
 Install the drag link
 Confirm you have the correct link


 Set this screw aside
 Installing the front axle
 Installing the rear axle
 With the front and rear axles installed, it’s time to move onto the driveshafts.
 Driveshaft with sleeves
 Align the half shafts
 Compress and install the driveshafts
 Snap the T-Lock cables onto the servos
 The kit is really starting to look like a truck now.

 Canadian Dollar (CAD)
 Euro (EUR)
