
 Canadian Dollar (CAD)
 Euro (EUR)
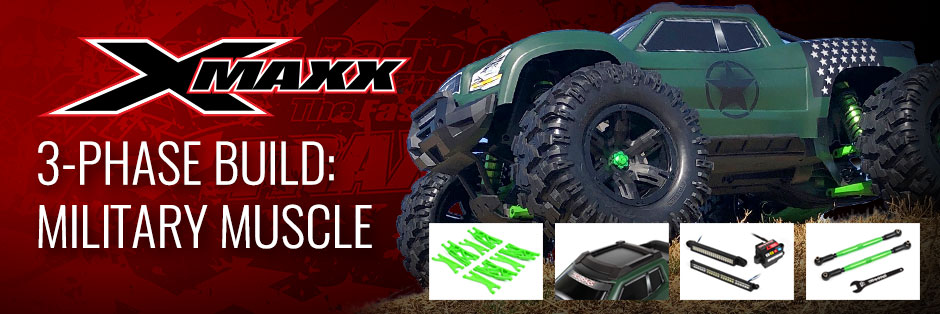
The X-Maxx Gets Drafted for an Army Upgrade

We’re starting off with a green X-Maxx, which includes green-anodized aluminum hubs, axle nuts, and GTX shocks.
Phase 1: Green Heavy-Duty Arms & Aluminum Toe Links
The X-Maxx’s stock upper and lower arms are already the toughest in the Traxxas lineup, but we're taking it to the next level with Heavy Duty arms. Traxxas HD arms are made from a proprietary composite to remain resilient even in cold weather. They’re the best arms you can put on the big rig and the available color options make it easy to create our military theme. You can also get the HD arms in orange, blue, white, or red—and black, of course. HD arms are also available for Rustler, Stampede, Slash, Maxx, and Revo 2WD and 4X4 trucks. For inspiration, check out our Maxx Patriot, StealthMaxx, Slash, and Slash 4X4 builds.

The lower arms are side-specific, but can be used front or rear. The upper arms fit left, right, front, and rear.

The lower arms are easy to tell apart by shape, and also labeled Left and Right to make installation foolproof.
For even more green and extra adjustability, we traded the X-Maxx’s fixed-length toe links for adjustable TUBES turnbuckles (which you can also get in blue and red). The TUBES tech is trick stuff—the turnbuckle body is 7075-T6 aluminum, and the threaded ends are high-strength steel. You also get a high-quality 10 mm adjusting wrench that fits precisely and won’t mar the anodized finish. The TUBES links make it easy to dial in your toe setting (learn all about toe-in here), but if you’re just getting them for their flex-fighting strength and good looks, there’s no adjustment needed—the TUBES are pre-set to the same length as the stock links. Just bolt them on and go.

The TUBES links allow front toe to be set precisely.

The included 10 mm wrench won't scratch the links.

The hingepins and shock retaining pin are captured by button-head screws. These will be transferred to the new arms.

The X-Maxx is very easy to work on. Swapping the upper and lower arms and toe link only took about ten minutes, working at a leisurely pace.

It’s green alright. Phase One is complete and looking good. The green-anodized GTX shocks are standard, FYI.
Phase 2: High-Intensity LED Lighting
True to its name, the High-Intensity LED Light Kit throws a lot of lumens to light the way when your X-Maxx session goes past sunset. It’s also waterproof and ruggedly built, which is important for a system going into a massive 50+ mph all-terrain machine. The front and rear light bars get their juice from a high-voltage amplifier that makes sure power is steady from the first pull of the throttle until it’s time to recharge, and the amplifier’s labeled plug ports make setup super easy. If you yank the body off and forget to unplug the rear light bar’s wiring harness, no worries. The system’ reinforced connecting cable and breakaway plug prevent wire damage. The lights are “smart,” too—you can set the front bar for High or Low beam brightness, and the rear bar has automatic brake lights and reverse lights. They’re very trick, very bright, and real attention-getters.


The High-intensity LED light kit includes a bumper-mount front light bar, cab-mounted rear light bar with brake and reverse lights, and a high-voltage 8-channel power amplifier. Plus everything you need to install the system, of course.

The amplifier mounts to bosses in the chassis, and the connectors are labeled for easy installation.

The stick-on guide helps align the mounting holes.

The 3433 body reamer makes the job easy.

Another easy installation.

Traxxas really makes adding LED lighting simple.

The rear light bar’s brake lights and reverse lights operate automatically with trigger input.

Next level: add the Traxxas Link Wireless Module to your TQi transmitter and load the free Traxxas Link app onto your iOS or Android device. Now you can configure and control the lights remotely—how cool is that?
Phase 3: Body Painting & Detailing
The X-Maxx’s factory color combos are hot, but if it’s a different look you seek, you’ve got three choices: you can go with the Rock n’ Roll look for a ready-to-install option, throw your favorite color onto a ProGraphix® body, or get a completely clear body and do your own thing. We chose the latter, and rattle-canned a green and black scheme with custom-cut masks. The truck looked pretty sweet with the high gloss of fresh plastic, but we decided a flat finish was the way to go for this military-themed machine. A coat of matte-clear paint from the hardware store did the trick. If you go for the flat look yourself, be sure to mask off the windows and anything else you want to stay shiny.
 The clear body set includes masks for clear windows, or you can skip masking and use the included decals (which is what we did).
 And here’s the paint job. We hit the outside of the body with flat clear to knock the shine down for a more military look.
It's easy to transfer the body support and quick-release latch from the existing RTR shell to our freshly-painted body.

The 7817 roof skid spares our X-Maxx from rollover wear. You never roll your truck? Install a skid anyway, it looks great and comes in six colors.

The body support serves as a marking guide for the roof skid (shown here on the RTR body for clarity).

The installed roof skid looks great on our new body and helps keep the paint looking fresh.
 The matte look suits the military theme and is easy to achieve.
 Looking rugged from the rear.
 We painted the transmitter to match, it’s easy to do.